Graphics Programs Reference
In-Depth Information
Applying
This is one of my favorite features: the ability to apply Photoshop
adjustments (everything from Curves to Levels and a whole lot more)
and regular Photoshop filters. There are just a few little things you
need to know so it works the way you want it to.
and Adjustments
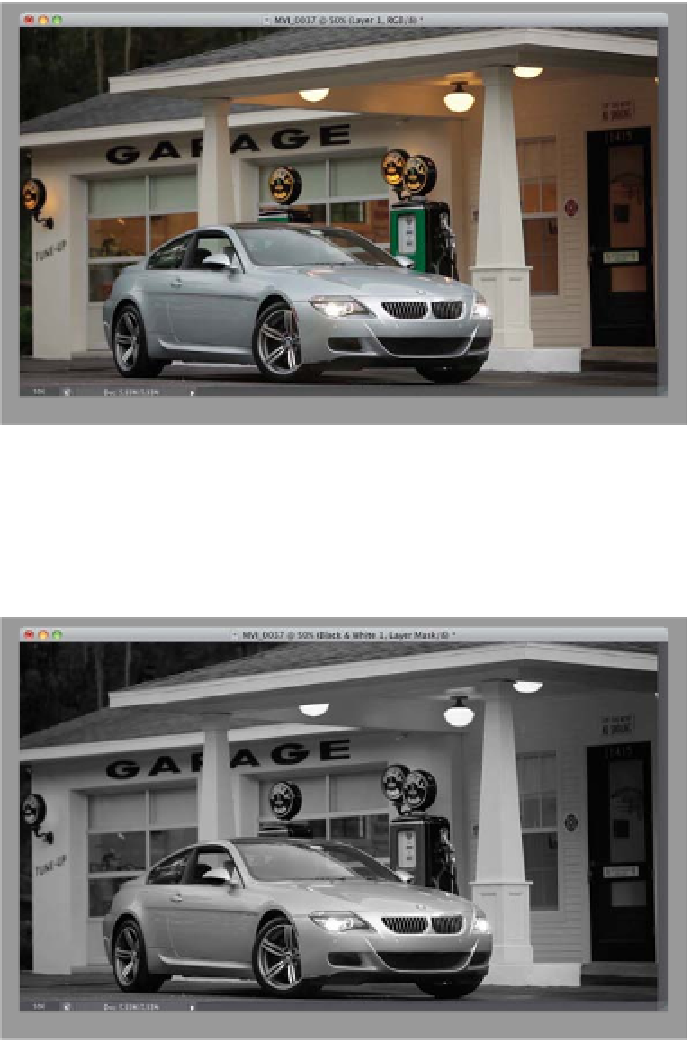
Step One:
Let's start a new movie (just so we don't
get totally sick of seeing one video clip
again and again). Go to Mini Bridge and
double-click on the file named “0037
.mov,” which is the full car in front of the
1950s gas station, to open it. Of course,
it needs some trimming, so you can do
that now if you'd like, but when you're
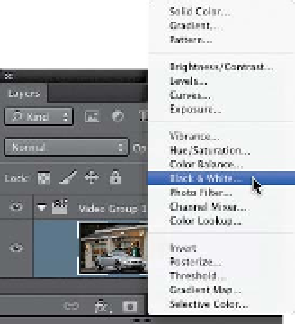
done, go to the Layers panel, click on
the Create New Adjustment Layer icon,
and from the pop-up menu, you can
choose any of the regular adjustment
layers we'd use for digital photos (in
this case, just choose
Black & White
,
as shown here).
Step Two:
When you choose this, your clip in-
stantly becomes black and white (as
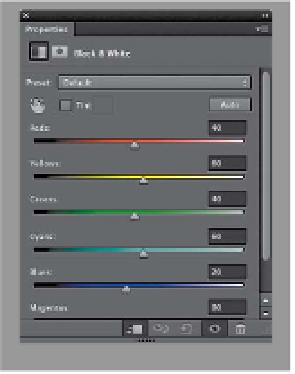
seen here), and if you look in the Prop-
erties panel, you'll see all the regular
Black & White sliders (I'm not a big fan
of this adjustment layer for doing black-
and-white conversions for photos, but
just for this example, I don't think it'll
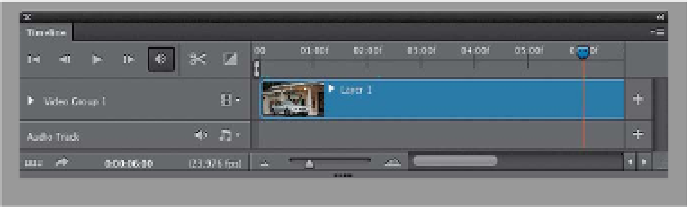
hurt anybody). ;-) One thing to note:
look in the Layers panel—it automati-
cally groups this adjustment layer with
just this one video clip. That's really
helpful, because we just want to affect
only this clip (not all our clips).