Graphics Programs Reference
In-Depth Information
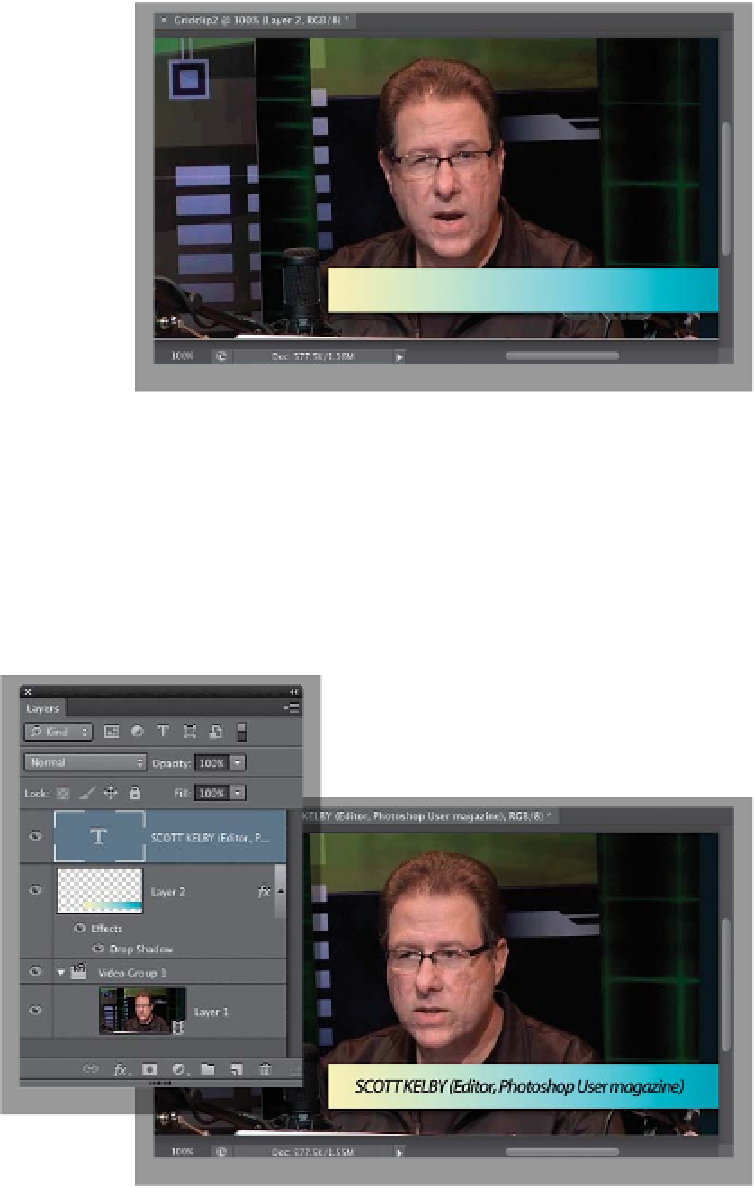
Step Seven:
You can add layer st yles to your proj-
ect, as well. In this case, let's add a Drop
Shadow layer style to our gradient bar
(so it casts a shadow back onto our video,
which helps add depth and adds to the
impression that our bar is “floating above”
our video). To do this, make sure your
playhead is over the gradient bar in
the timeline, so you can see it onscreen,
then click on the Add a Layer Style icon
at the bottom of the Layers panel, and
choose
Drop Shadow
(as shown here).
When the dialog comes up, you can
change the softness of the shadow by
dragging the Size slider to the right (as
shown here). Also, you can change the po-
sition of the shadow by moving your cur-
sor outside the dialog—right onto your
image itself—and just dragging it where
you want it. When you're done, click OK,
and now you've created extra depth.
Step Eight:
Now let's finish off our Lower Third proj-
ect. Get the Type tool
(T)
, click right on
your lower third in your image window,
and simply enter your text (as shown
here, where I added some text in the
font Myriad Pro Semibold Italic). You can
switch to the Move tool and reposition
this text just like you would with a text
layer on a photo. Once again, take a look
at the stacking order over in the Layers
panel: the Type layer is on top, which
means the type appears over the gradient
bar, then you see the gradient bar next
(it's over the video), and then the video
clip itself. By the way, we didn't have to
drag the Type layer up to the top, since
we were already working outside Video
Group 1. Finally, like I mentioned in the
intro, you can use this same technique to
add logos or other graphics to your video.