Graphics Programs Reference
In-Depth Information
Working with
There are three types of audio you'll wind up dealing with in your movies:
(1) there's audio in the video you captured with your camera, and you get to decide
whether your audience will hear that or not, (2) you can add a background music
track behind your video, and (3) you can add additional audio tracks for things
like narration or sound effects. Luckily, managing these is fairly easy.
Audio and
Step One:
We'll pick up with the two clips we
used in the previous trimming project.
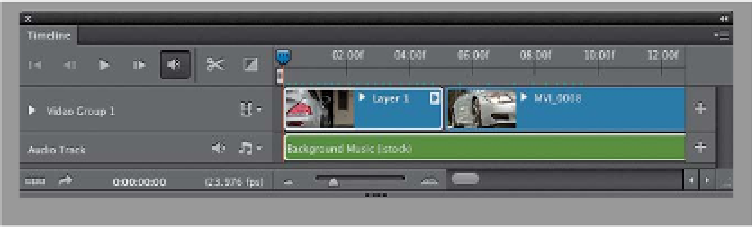
If you look in the Timeline panel, directly
below your movie clips, you'll see an
empty track right below it (and it says
Audio Track to the left of it, below
Video Group 1). That's where your audio
(background music or narration tracks)
goes. To add an audio track, click directly
on the little music notes icon and, from
the pop-up menu that appears, choose
Add Audio
(as shown here).
Step Two:
Find the audio track you want to use as
your background music (Photoshop sup-
ports most common audio file formats,
from AAC to MP3). You can go to the
book's download page and download
the track I used, which is a royalty-free
background music track from iStockphoto
(they have lots of great background music
tracks you can buy and use in your pro-
jects. They were gracious enough to let
me use this one and share it with you to
practice along with. This track was actually
featured as their “Free Track of the Day”
the day I needed a background track, and
it worked perfectly for this project. Total
luck). Anyway, once you select your audio
file and click Open, it adds your back-
ground music to the timeline, where it
appears in green so you know instantly
it's audio (video clips appear in blue).