Graphics Programs Reference
In-Depth Information
After you've tweaked your photo the way you want it, and right before you save it,
you'll definitely want to sharpen it. I sharpen every photo, either to help bring back
some of the original crispness that gets lost during the correction process, or to
help fix a photo that's slightly out of focus. Either way, I haven't met a digital camera
(or scanned) photo that I didn't think needed a little sharpening. Here's a basic
technique for sharpening the entire photo:
Sharpening
Essentials
Step One:
Open the photo you want to sharpen.
Because Photoshop displays your photo
differently at different magnifications,
choosing the right magnification (also
called the zoom amount) for sharpening
is critical. Because today's digital cameras
produce such large-sized files, it's now
pretty much generally accepted that the
proper magnification to view your pho-
tos during sharpening is 50%. If you look
up in your image window's title bar, it
displays the current percentage of zoom
(shown circled here in red). The quickest
way to get to a 50% magnification is to
press
Command-+
(plus sign;
PC: Ctrl-+
)
or
Command--
(minus sign;
PC: Ctrl--
)
to zoom the magnification in or out.
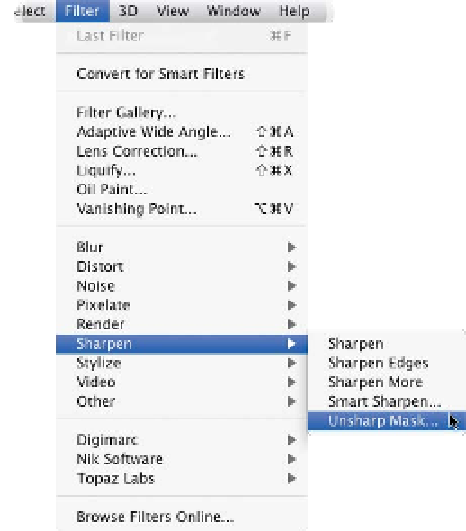
Step Two:
Once you're viewing your photo at
50% size, go under the Filter menu,
under Sharpen, and choose
Unsharp
Mask
. (If you're familiar with traditional
darkroom techniques, you probably
recognize the term “unsharp mask”
from when you would make a blurred
copy of the original photo and an
“unsharp” version to use as a mask
to create a new photo whose edges
appeared sharper.)