Graphics Programs Reference
In-Depth Information
Step Three:
Press
Command--
(minus sign;
PC: Ctrl--
)
to zoom out a level. Now, grab the bot-
tom-right corner of your image window
and drag outward until you can see the
gray canvas area surrounding your image.
Then, go under the Filter menu, under
Blur, and choose
Iris Blur
. This brings
up the Iris Blur interface (seen here) and
it puts a large oval in the center of your
image—the area inside that oval is where
it's clear, and the Iris blur appears out-
side it. But what we want to do here is
blur as much of the background as pos-
sible, so what we're going to have to do
next is shrink the oval way down and
drag it off the image, so it doesn't leave
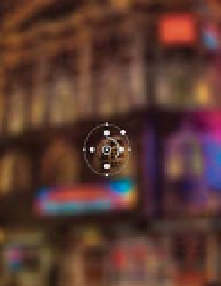
any part of the image clear. Grab one of
the side points of the oval and drag it
inward to make it a tall, thin oval (as seen
here on the bottom left). Then, grab ei-
ther the top or bottom point on the oval
and drag inward to shrink the oval down
to a small circle (like what you see here
on the bottom right).
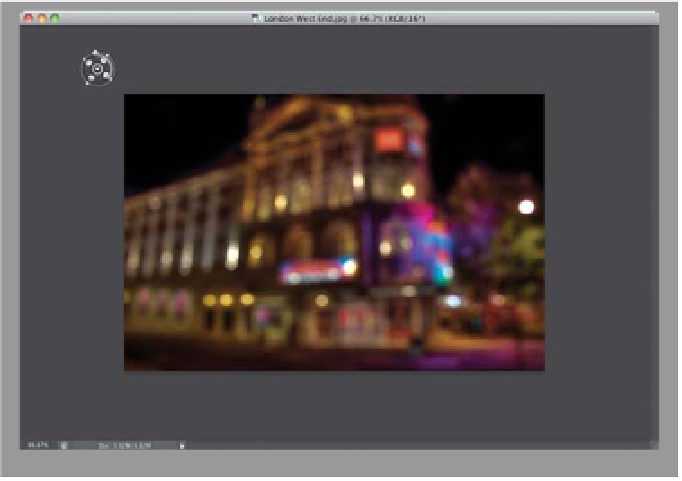
Step Four:
Then, click in the center of the circle
and drag it right off the image into the
upper-left corner of the window (as shown
here). By moving it outside your image
like this, none of the image will be clear
(it all gets blurred). Next, go to the Blur
Effects panel on the right, under the
Bokeh section, and drag the Light Bokeh
slider over to the right to 50%. This slider
controls how bright the blurry lights are,
so depending on the photo, you might
have to make this darker (or even brighter),
but just make sure the lights don't get
crazy bright.
(Continued)