Graphics Programs Reference
In-Depth Information
Another special effect added in Photoshop CS6 is called “Color Lookup.” It uses
built-in Color Lookup tables to instantly remap the colors in your image to create
some pretty cool color effects (inspired by the lookup tables used in movie making
and video). There aren't a lot of controls to play around with—most of these are pretty
much “one-trick ponies,” where you choose a look and you either like the effect or
not—but what's nice is it's available as an adjustment layer, so you can control where
the effect is applied pretty easily by just painting it on or off. Here's how it works:
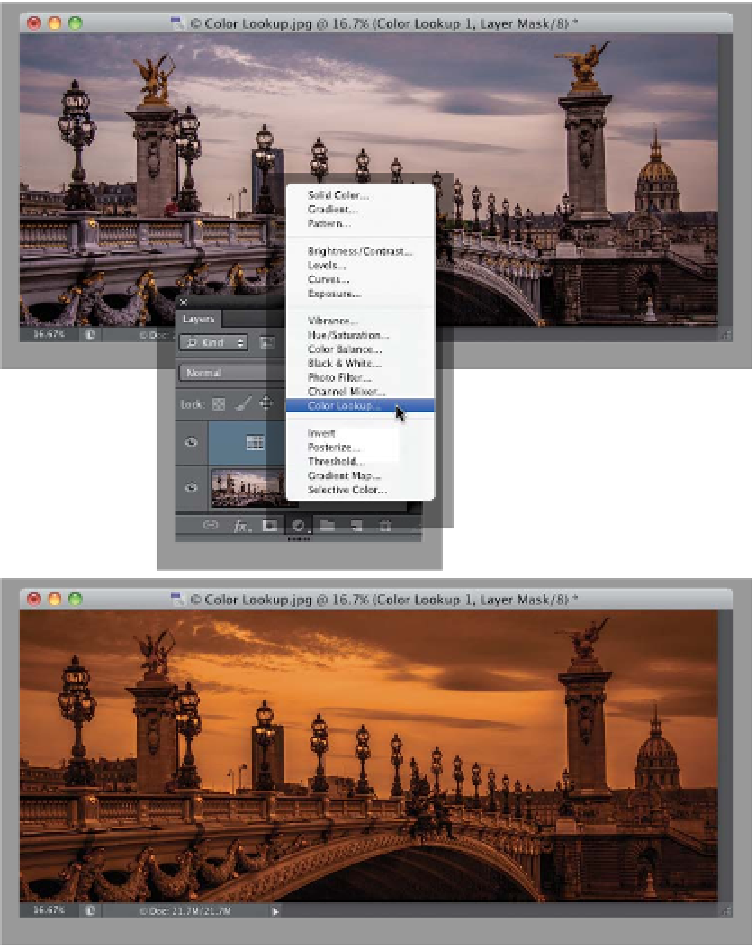
Step One:
Open the photo you want to apply a
Color Lookup effect to. Then, go to the
Layers panel, click on the Create New
Adjustment Layer icon at the bottom of
the panel, and choose
Color Lookup
from the pop-up menu (as shown here),
or you can click on the last icon in the
second row of the Adjustments panel.
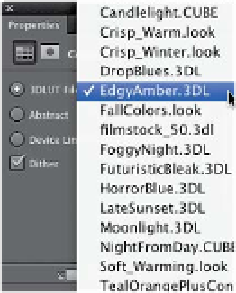
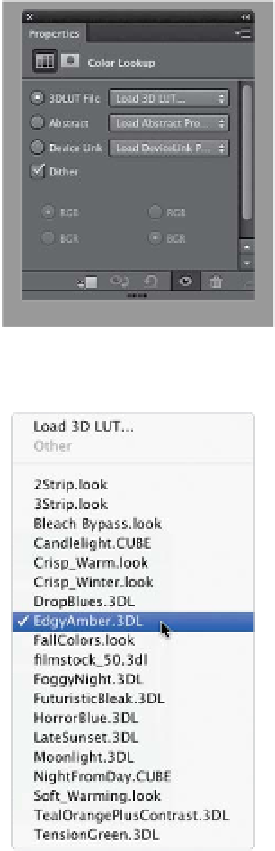
This opens the Color Lookup options in
the Properties panel (shown here). There
are three different sets of effects, and you
choose the one you want from any of the
three pop-up menus (you can only choose
one at a time).
Step Two:
I chose EdgyAmber.3DL from the 3DLUT
File pop-up menu, and it applied the
color effect you see here. At this point,
there are three things you can do: (1) if
the effect seems too intense, since this
is an adjustment layer, you can lower the
layer's Opacity and it lowers the inten-
sity of the effect; (2) you can change the
layer's blend mode to control how this
effect blends with the image on the layer
below it; or (3) you can press
Command-I
(PC: Ctrl-I)
to Invert the layer mask, which
hides the effect behind a black layer
mask, then take the Brush tool
(B)
and,
with your Foreground color set to white,
just paint the effect right where you
want it to appear.