Graphics Programs Reference
In-Depth Information
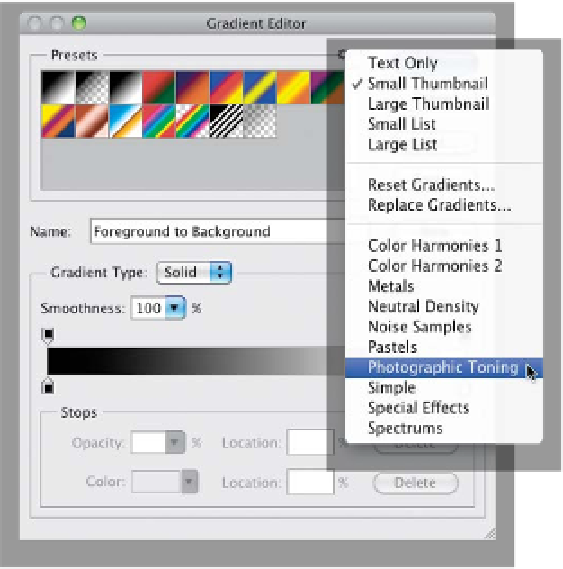
Step Three:
This brings up the Gradient Editor (seen
here), and if you click on the little “gear”
icon at the top-right corner of the Presets
section, a pop-up menu appears. Choose
Photographic Toning
from this menu (as
shown here). A dialog will appear asking if
you want to replace the current default set
of gradients with the ones you are loading.
I chose yes, because (1) it's easier to work
with them if they're not added to the ex-
isting set, and (2) I'm going to show you a
one-click way to get the default gradients
back any time you want, in just a moment.
So, for now, click OK to hide the default
gradients and load the new set.
Step Four:
Once they're loaded, now the fun
begins, because all you have to do is
click on any one of these photographic
toning gradients, and it updates your
image live, so you can just start clicking
until you find one you like. Here's one
called Sepia-Selenium 3—you can see
the colors that make up the look in the
gradient ramp that appears in the mid-
dle of the Gradient Editor dialog
(seen here).