Graphics Programs Reference
In-Depth Information
One of the most under-used adjustment layers has got to be the Gradient Map.
For years, I've only used it for one thing—it makes a pretty mean black-and-white
your Background color is white, so it might technically take one letter and one click).
Anyway, in Photoshop CS6, Adobe worked with photographer Steve Weinrebe
conversion in just one click (well, provided that your Foreground color is black and
to add 38 photo-toning and split-toning presets to the Gradient Map feature,
making it an even better tool that nobody uses. I hope that changes today.
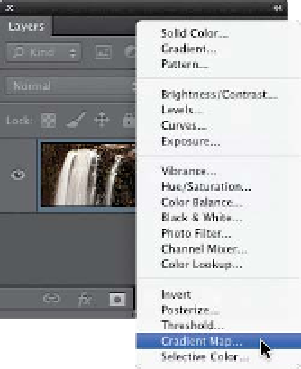
Step One:
Open the photo you want to apply a
photo toning effect to. Then, go to the
Layers panel and click on the Create New
Adjustment Layer icon at the bottom of
the panel, and choose
Gradient Map
from the pop-up menu (as shown here),
or you can click on the last icon, on the
bottom row, of the Adjustments panel.
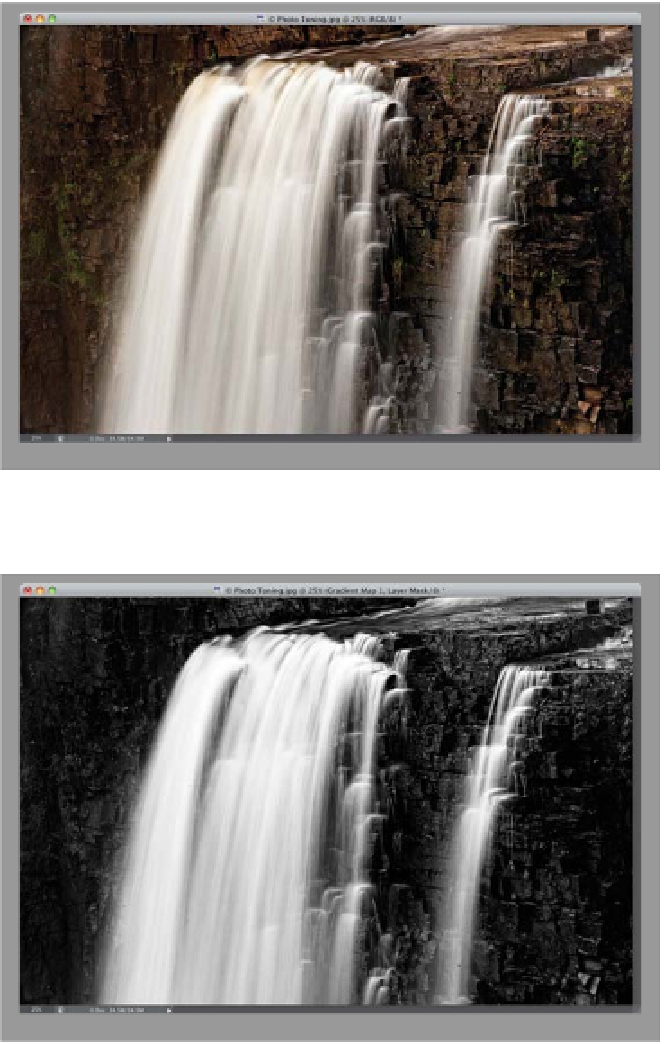
Step Two:
As soon as you choose Gradient Map,
it applies the default gradient, which as
I said above, makes a pretty darn sweet
one-click B&W image (as long as your
Foreground and Background colors are
set to black/white, respectively, before
you choose Gradient Map). Okay, to be
able to load the Photo Toning presets,
you need to go to the Properties panel
and click directly on the gradient itself
(as shown here).
(Continued)