Graphics Programs Reference
In-Depth Information
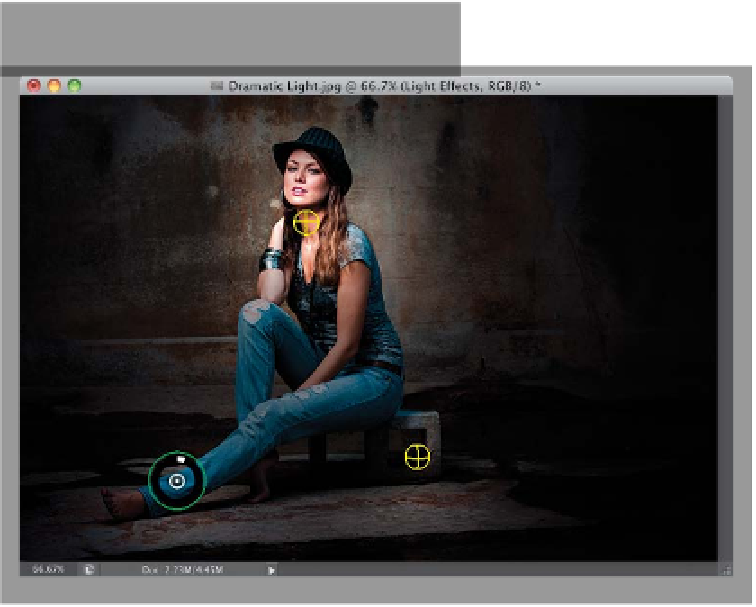
Step Six:
To add more light s, click on one of the
three light styles up in the Options Bar.
Add a Point Light (shown circled here in
red) and drag it over near the concrete
block she's sitting on. Drag the Scale
circle inward, until the size of the beam
is very small (as seen here), and lower
the Intensity quite a bit. Create another
Point Light and do the same, but drag it
down by her ankle (as seen here).
TIP: Deleting Lights
To delete a light, click on it, then go
over to the Lights panel on the right
side of your workspace and click on the
Trash icon in t he b ot to m - r ig ht cor ner.
It won't let you delete all the lights—
it makes you leave one there (or your
image would just be black).
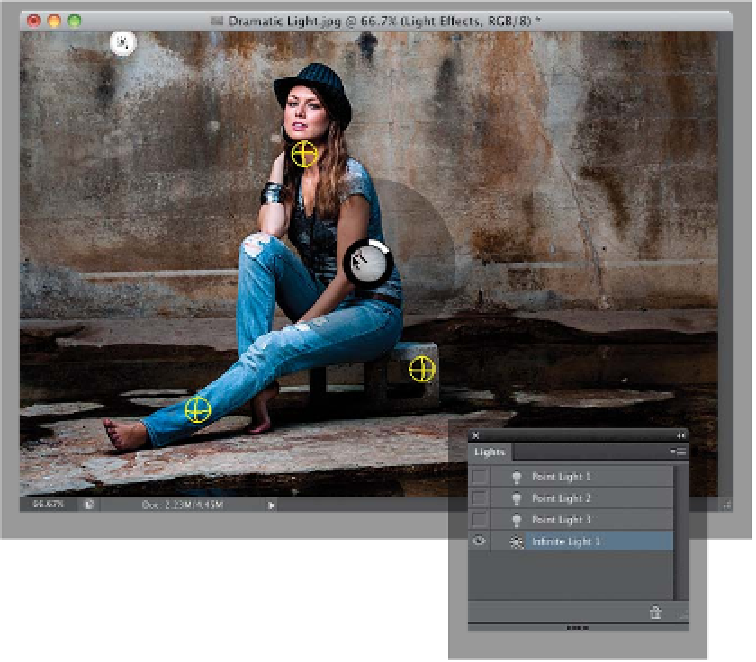
Step Seven:
In the Lights panel, you'll see all your
lights listed, kind of like layers. You can
toggle them on/off here by clicking on
the Eye icon to the left of each light.
Also, if you want to change the style of
light, click on it, then choose a new style
from the pop-up menu in the Properties
panel, which should be above the Lights
panel. We haven't really talked about the
Infinite Light (the third light style), so go
ahead and create an Infinite light (click on
the third Lights icon in the Options Bar),
and then hide the other three from view
in the Lights panel by clicking on their
Eye icons. This light stays in the center of
your image—it doesn't move, so like the
sun, all you can do is change its direction
(click-and-drag directly on the dot in the
center, and you'll see the light icon near
the edge of your image move; it's fun to
see how it shows the light in a 3D space).