Graphics Programs Reference
In-Depth Information
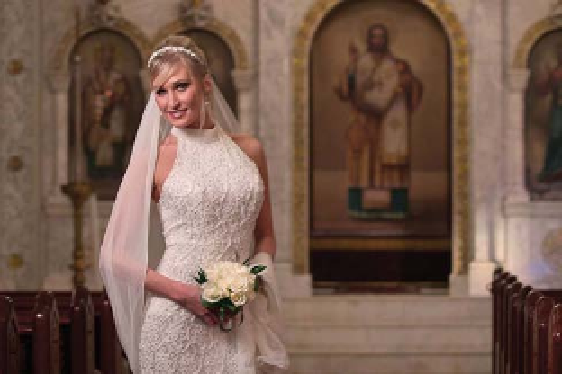
Step Five:
Here, I clicked a few more times to get
all of our bride in focus (but I like how
her right side goes out of focus, more
like a real f/1.4 lens effect would, so I'm
leaving that side—the farthest away from
the camera—to go blurry). Now that all
the pins are in place, let's increase the
amount of Blur from 15 to 24 in the Blur
Tools panel (as shown here). Look how
much blurrier the background looks now
and how much separation it gives the
bride from the background. So, how long
did all those blur pins take to create?
Just seconds. Each one takes one click
to create and one or two clicks to posi-
tion, so don't let all those dots on the
bride throw you—this is easy stuff. One
last thing: once you hit the
Return (PC:
Enter) key
to apply your blur effect, you
can control the amount of blur after the
fact by immediately going under the
Edit menu and choosing
Fade Iris Blur
.
Lower the Opacity to around 70% and
see how that looks (pretty sweet, right?).
Below is a before/after, but we're going
to move on to another blur filter now.
Before
After
(Continued)