Graphics Programs Reference
In-Depth Information
Step Seven:
When you're done tweaking your blur,
press the
Return (PC: Enter) key
to apply
it. There are a few more controls in the
Options Bar: One is the Focus amount,
and it's set at 100% (sharp focus) by de-
fault. If you lower that amount, it makes
the in-focus area start to blur. The more
you lower that amount, the blurrier the
in-focus area gets (I haven't found a use
for this one yet). Next is the Save Mask to
Channels checkbox, which lets you save
the area you've masked (using this tool) to
a channel (in the Channels panel) in case
you want to edit it later (like adding noise
to it, or removing all the color, etc.). You
can reload that channel and the masked
area becomes selected. Lastly, there's
a High Quality checkbox, which gives
you a better quality blur, but it just takes
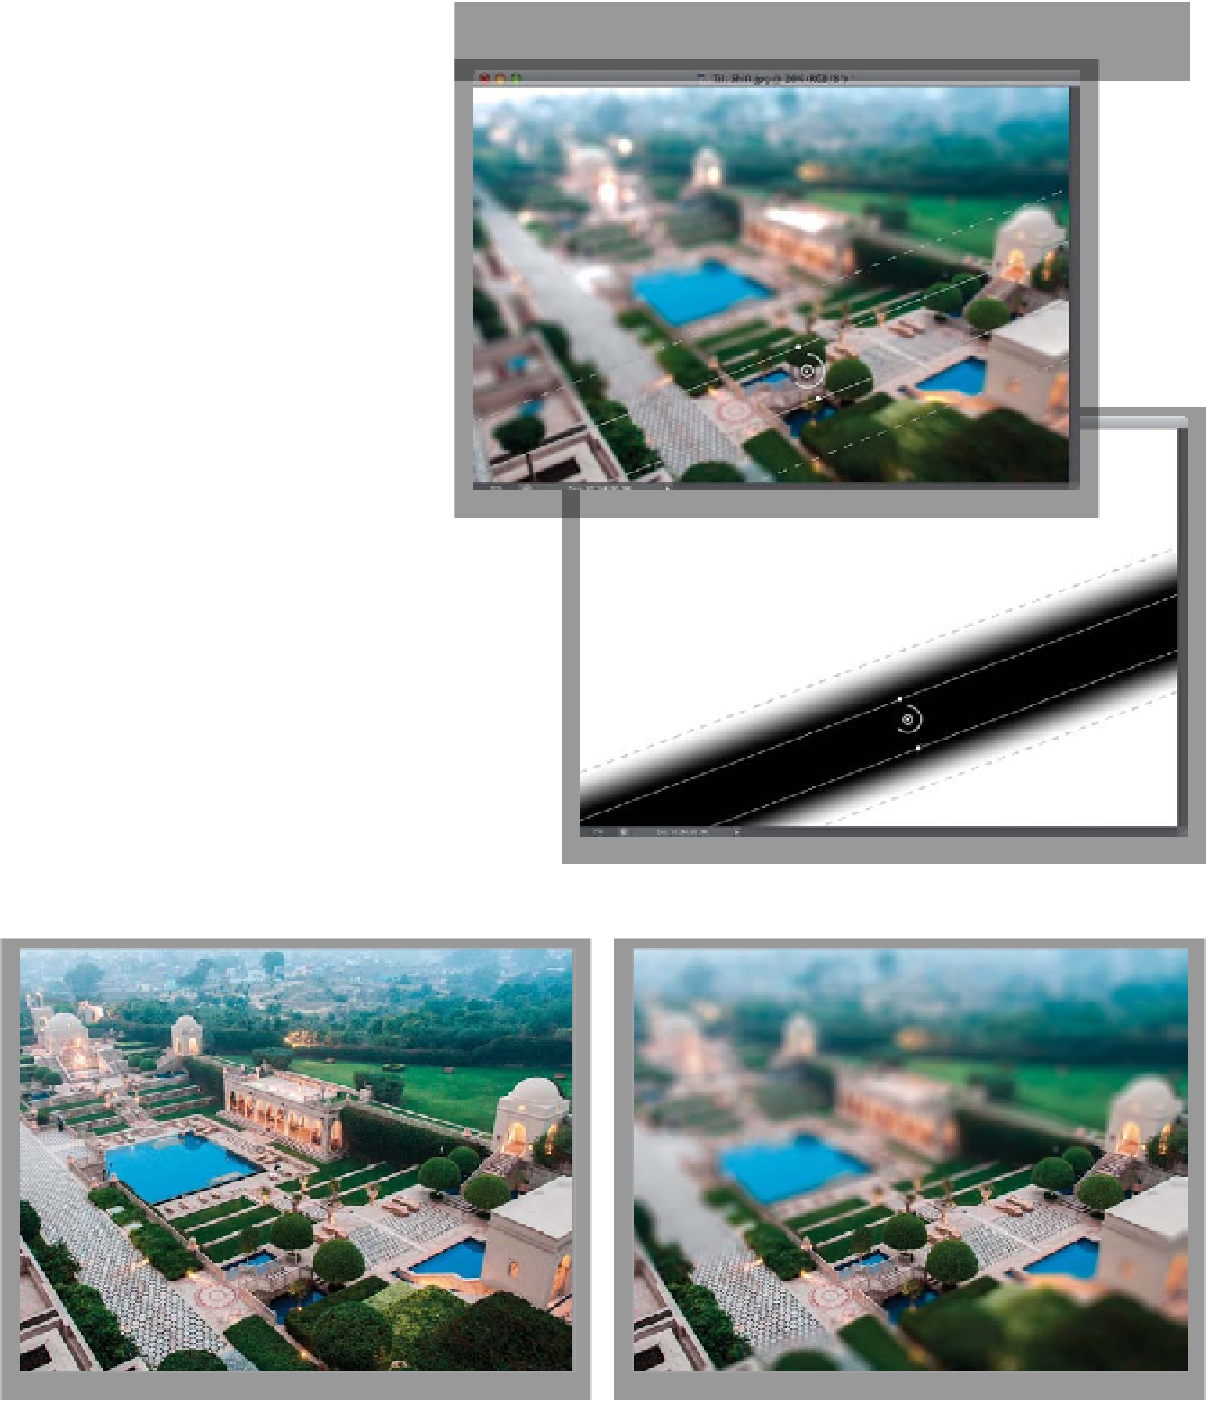
longer to apply. By the way, if you want
to actually see the mask this filter is build-
ing, press-and-hold the letter
M
on your
keyboard (you can see what the mask
looks like here at the bottom). Some
other handy shortcuts: Press
P
to hide the
blur (press it again to bring it back), and
press-and-hold
H
to hide your round pin
thingy and all the lines from view.
Before
After