Graphics Programs Reference
In-Depth Information
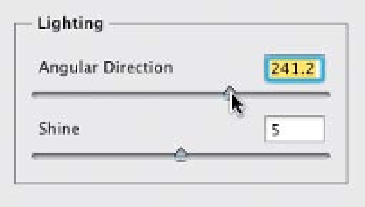
Step Seven:
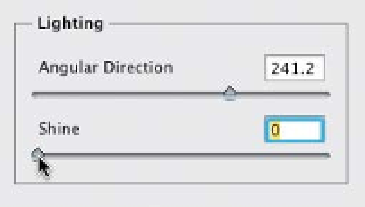
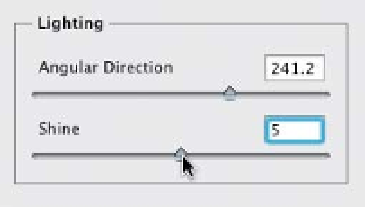
There are two sliders in the Lighting
section: The Angular Direction slider
controls the angle of the light hitting
your painting. When it's a direction of
light, Adobe usually gives us a round
dial-like controller (like the one in the
Bevel & Emboss section of the Layer
Style dialog), but here, they just went
with a regular ol' slider. The best way
to totally “get” this slider is to just drag
it back and forth a few times and you'll
totally get what it does, because the
light changes as you drag from 0 to
360 degrees.
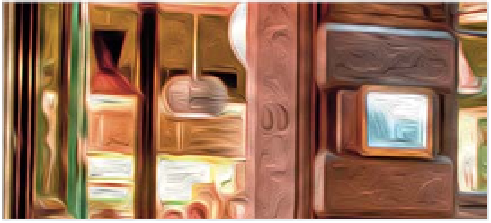
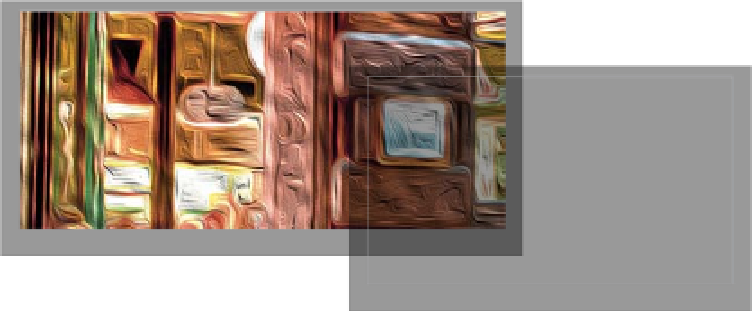
Lighting Angular Direction set to 90°
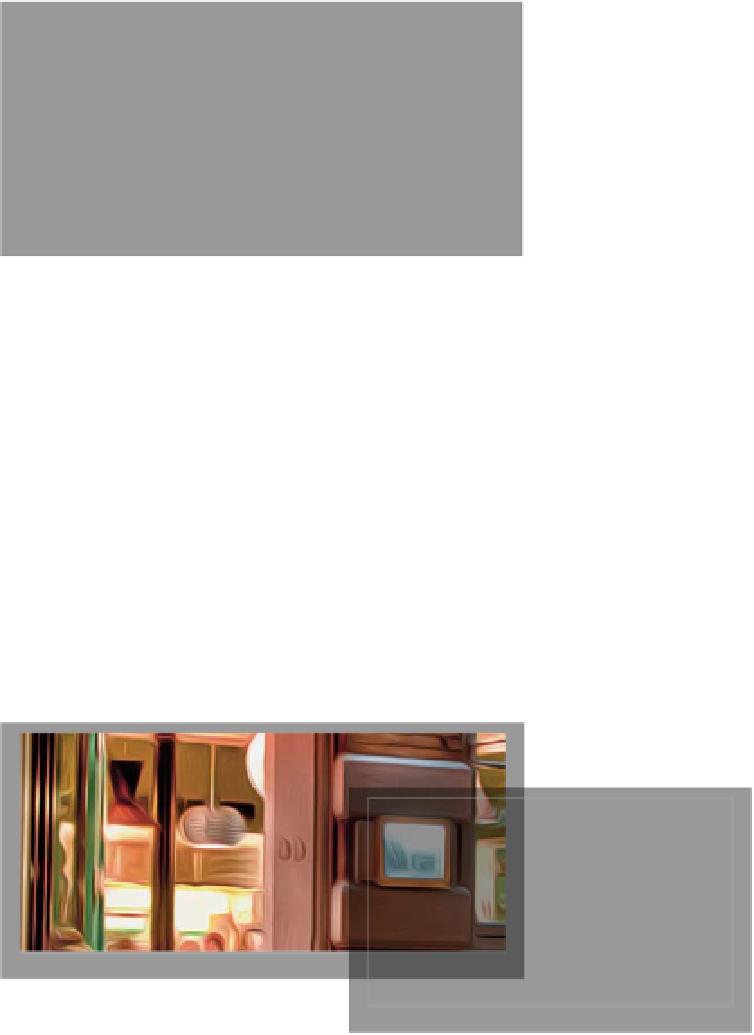
Lighting Angular Direction set to 241.2°
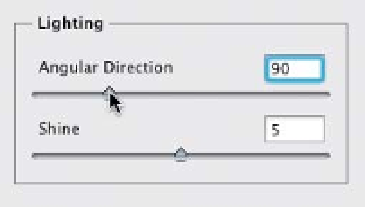
Step Eight:
The last slider in this section is the Shine
amount, and it controls how the light
reflects. Dragging it to the left makes
your image very flat-looking (as seen
here, at top), and dragging over to the
right adds contrast to the highlights and
shadows, and kind of makes the paint
look thicker, almost like it's embossed.
I only dragged halfway here, to a setting
of 5, because it looked
so
bad at a set-
ting of 10 that I was afraid you'd look at
it and think, “Okay, I'm never going to
touch that slider.” It actually has a nice
effect, and of course, the setting amount
(as always) depends on the image you're
applying it to.
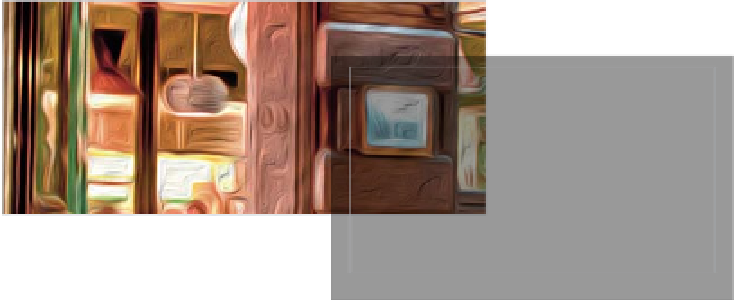
Lighting Shine set to 0
Lighting Shine set to 5 (the midway point)
(Continued)