Graphics Programs Reference
In-Depth Information
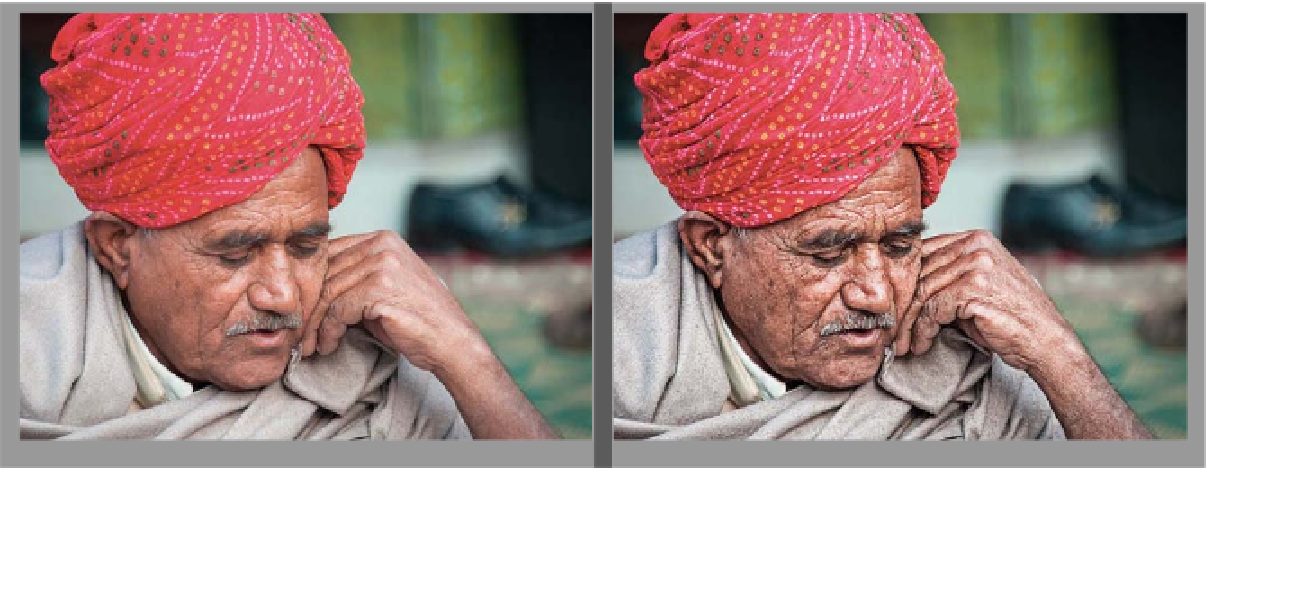
Step Seven:
Okay, this high-contrast look looks great
on a lot of stuff, but one area where it
doesn't look that good (and makes your
image look obviously post-processed) is
when you apply this to blurry, out-of-focus
backgrounds, like the one you see here.
So, I would only apply it to our subject and
not the background. Here's how: Option-
click (PC: Alt-click) on the Add Layer Mask
icon at the bottom of the Layers panel
to hide the contrast layer behind a black
mask (so the effect is hidden from view).
With your Foreground color set to white,
get the Brush tool
(B)
, choose a medium-
sized, soft-edged brush, and paint over
his face to add the high-contract effect
there. Now, in the Options Bar, lower the
brush's Opacity to 70% (so the effect isn't
as intense), then paint over his turban and
clothes. This way, you avoid adding the
contrast to the blurry background alto-
gether. Lastly, go to the Layers panel and
lower the Opacity of this layer until it looks
more natural, as shown here at 67%. Now,
you can flatten the layers and sharpen
it using Unsharp Mask (see Chapter 10.
Here, I used Amount: 120, Radius: 1,
Threshold: 3) to finish off the effect.
Before
After