Graphics Programs Reference
In-Depth Information
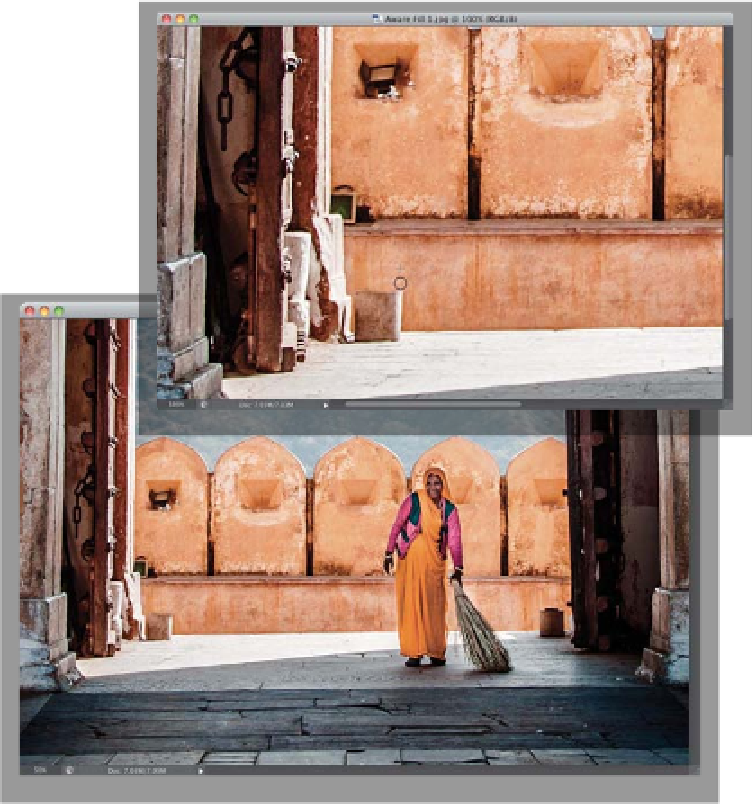
Step Three:
Next, go under the Edit menu and choose
Fill
. When the Fill dialog appears, choose
Content-Aware
from the Use pop-up
menu (as seen here). Now, just click OK,
sit back, and prepare to be amazed (I
know—it's freaky). Not only is the guy
gone, but it also patched the wall pretty
darn perfectly behind him (that's why it's
called “Content-Aware” Fill. It's aware of
what is around the object you're removing,
and it does an intelligent filling in of what
would normally just be a big white hole in
your image). Go ahead and deselect by
pressing
Command-D (PC: Ctrl-D)
. The
more I use it, the more it amazes me, but
part of using this effectively is learning its
weaknesses, and how to get around them
when possible.
Step Four:
One area it didn't fill perfectly is the top
of the stone cylinder his leg was behind,
so we'll have to fix that manually using
the Clone Stamp tool. Get the Clone
Stamp tool
(S)
from the Toolbox, Option-
click (PC: Alt-click) above the top edge
of the cylinder and paint over the top
right of it to fix that spillover (as seen here
at the top). Now, you will fall deeply in
love with Content-Aware Fill if you can
come to peace with the fact that it won't
work perfectly every time. But, if it does
70% or 80% of the work for me (in remov-
ing something I don't want), that means
I only have to do the other 20% (or maybe
3%, like in this case), and that makes it
worth its weight in gold. If it does the en-
tire job for me, and sometimes it surely
does, then it's even better, right? Right.
Also, it helps to know that the more
random the background is behind the
object you want to remove, the better
job Content-Aware Fill generally does
for you.
(Continued)