Graphics Programs Reference
In-Depth Information
Step 15:
First, let's get rid of that thin white fringe
around her, then we'll deal with our color
issue. To remove the fringe, go under the
Layer menu, under Matting (it's at the
very bottom of the menu), and choose
Defringe
. When the Defringe dialog ap-
pears (shown here), enter 1 (use 2 pixels
for a higher-megapixel image), click OK,
and that fringe is gone! (Photoshop basi-
cally replaces the outside edge pixels with
a new set of pixels that is a combination
of the background its sitting on and your
subject's edge, so the fringe goes away.)
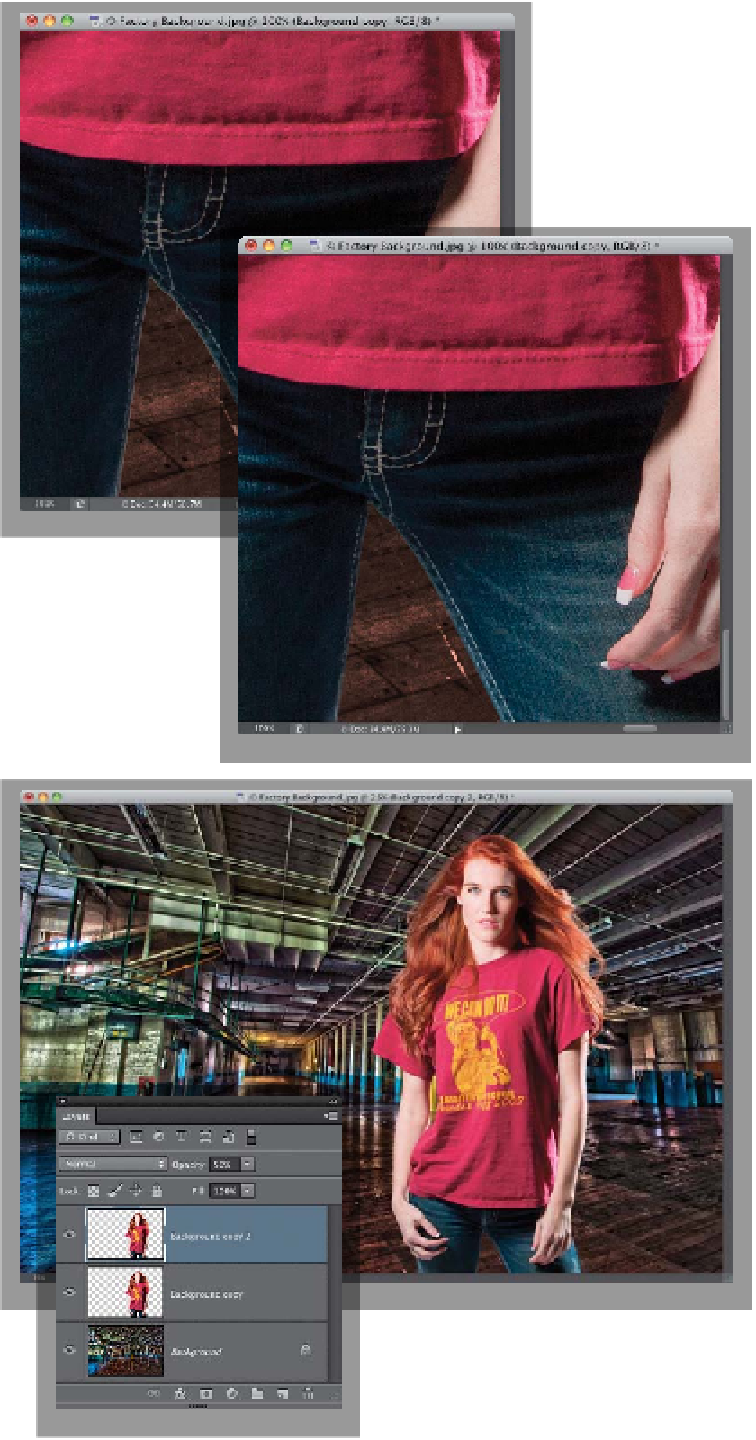
Step 16:
Here's a trick I stumbled upon years ago
when making composites (back when
we used channels for stuff like this). This
trick gives you more detail and brings
back some of those lost wisps of hair by
building up some pixels. It's going to
sound really simple and it is. Just press
Command-J (PC: Ctrl-J)
to duplicate your
layer (the one with your subject). That's
it. Just duplicate your subject layer, and
it has a “building up” effect around the
edges of her. Suddenly, it looks more de-
fined, and it fills in some of the weaker
wispy areas. If for any reason it looks like
too much, at the top of the Layers panel,
just lower the Opacity of this duplicate
layer until it looks right (here, I lowered
it to 50% and it looks about right). Next,
merge this duplicate layer with your origi-
nal subject layer by pressing
Command-E
(PC: Ctrl-E)
. Okay, now to tackle the
fact that the color of our subject doesn't
match the surroundings she was sup-
posedly shot in.