Graphics Programs Reference
In-Depth Information
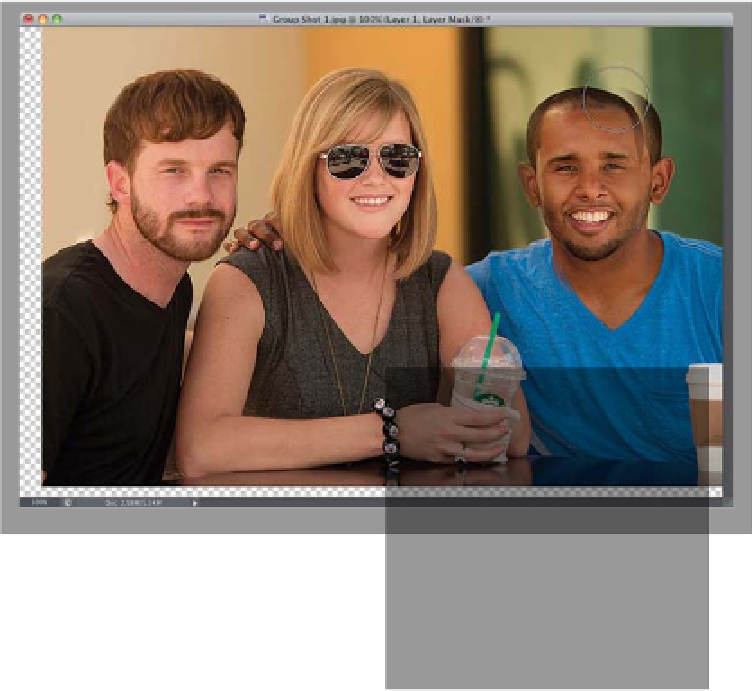
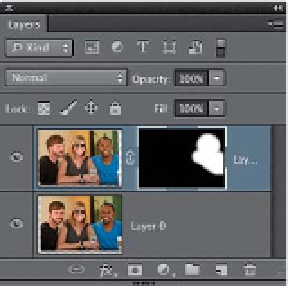
Step Five:
Now that they're aligned, click on the top
layer in the Layers panel to make it the ac-
tive layer. Press-and-hold the Option (PC:
Alt) key and click on the Add Layer Mask
icon at the bottom of the Layers panel
to hide the top layer (with the guy on
the right looking at the camera) behind
a black layer mask. Now, get the Brush
tool
(B)
, choose a medium-sized, soft-
edged brush from the Brush Picker in the
Options Bar, and with your Foreground
color set to white, paint over the guy on
the right's head. As you do, it reveals the
good version of him where he's looking at
the camera (as shown here). Keep painting
until his head, shirt, and basically as much
as you need, look natural in the photo (in
this case, his body position shifted a bit,
so I had to paint over his neck, chest, and
shoulders, as well). When you're done,
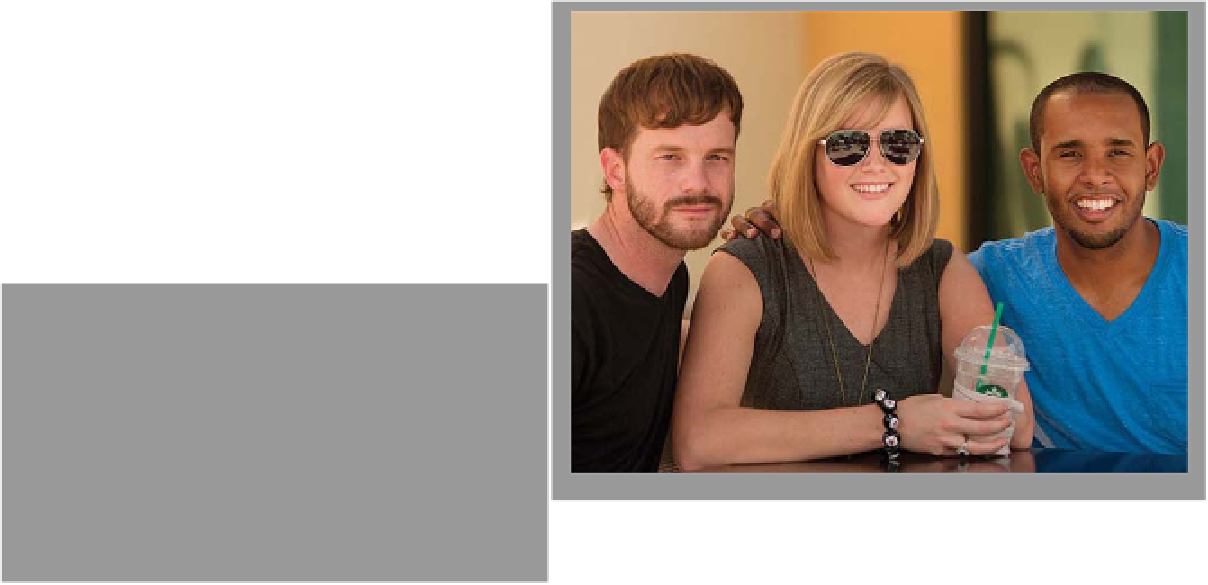
get the Crop tool
(C)
and crop the image
down to size. The final is shown below.
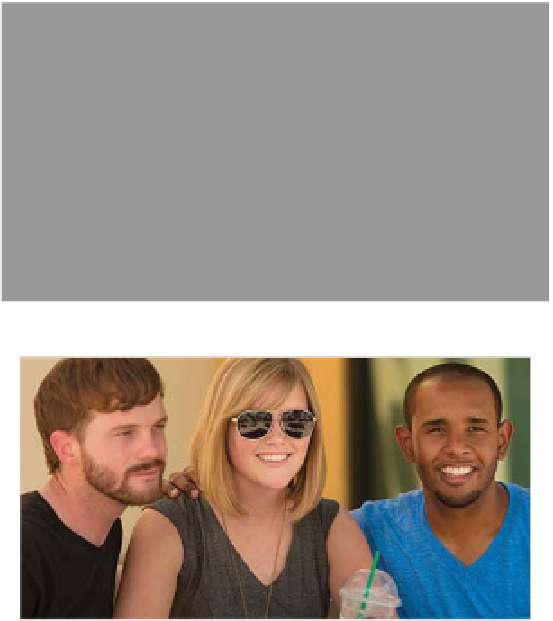
Before: The guy on the right is squinting and looking away
After: Parts of the two photos are combined to make one perfect group shot
Before: The guy on the left is looking away and is out of focus