Graphics Programs Reference
In-Depth Information
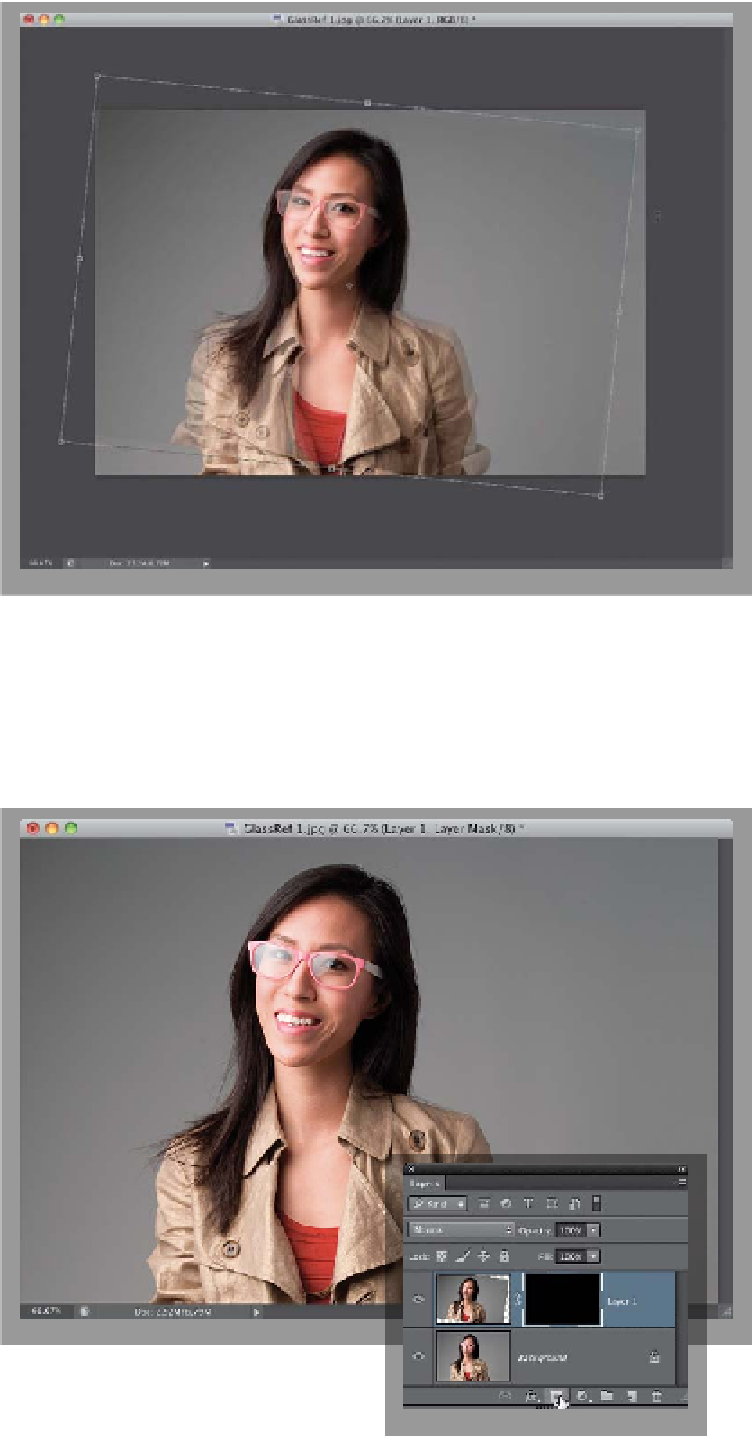
Step Five:
If you look at her shoulders back in Step
Four, you can see that not only is her head
tilted, but I either zoomed in or zoomed
out just a little because she is a different
size in the each of the photos. So, press
Command-T (PC: Ctrl-T)
to bring up Free
Trans for m, press-and-hold the Shif t key (to
keep everything proportional), then click
on a corner point and drag inward until
her shoulders look about the same size in
each of the photos. Now, we can rotate
the top photo, so her eyes better match
up. To rotate this top layer, go ahead and
zoom out (to shrink the size of your image
window), then pull out the corners of the
image window, so you see some of the
dark gray canvas area around your image
(as seen here). Now, when you move your
cursor outside the Free Transform bound-
ing box, it will change into a two-headed
rounded arrow, so you can click-and-drag
in a circular motion to rotate the top layer.
(
Note:
You may need to move your cursor
inside the bounding box to reposition the
top layer, as well.)
Step Six:
Once it looks pretty well lined up,
press the
Return (PC: Enter) key
on
your keyboard to lock in your resizing
and rotation, then raise the Opacity of
this top layer back to 100%. Now, all we
really need from the image on the top
layer is the area that appears inside her
frames. So, press-and-hold the Option
(PC: Alt) key and click on the Add Layer
Mask icon at the bottom of the Layers
panel to hide this rotated layer behind
a black layer mask (as shown here).
(Continued)