Graphics Programs Reference
In-Depth Information
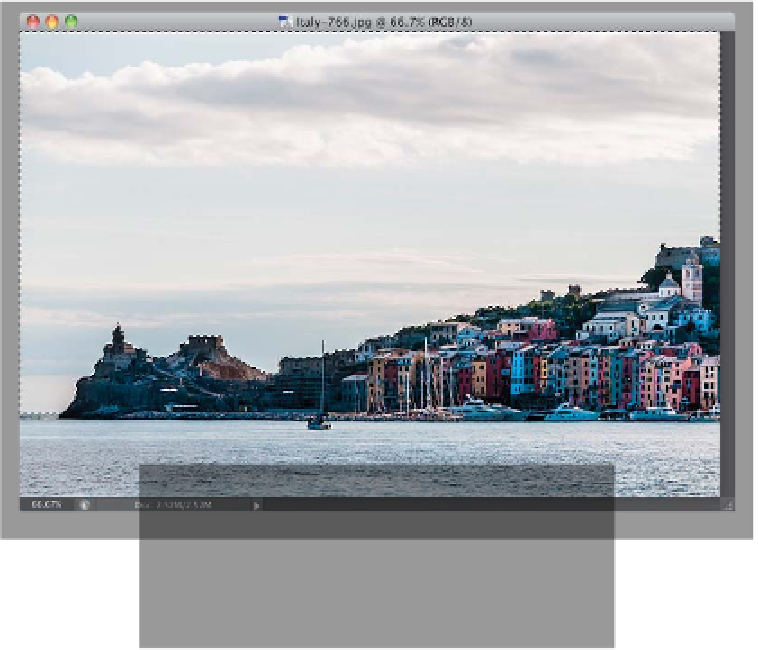
Step Two:
When I make a selection like this, to
make sure it didn't miss any little areas,
I usually expand (grow) the selection
outward by a pixel or two (that way, it
kind of “digs-in” to the city a little and
eliminates any little gaps that would be
a giveaway you tweaked the sky). To do
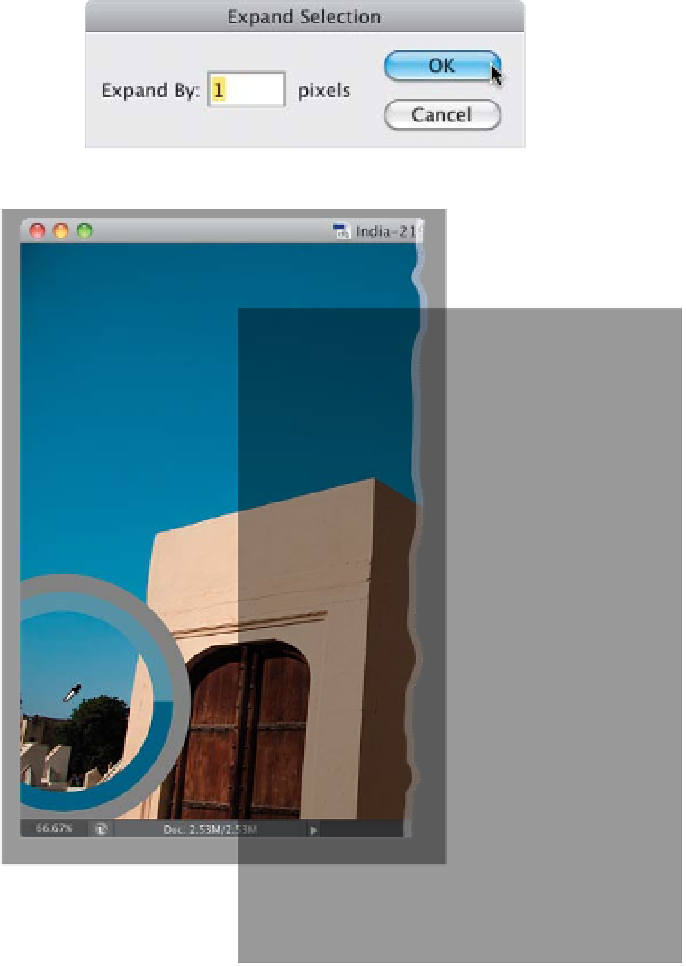
this, go under the Select menu, under
Modify, and choose
Expand
. When
the dialog appears, if it's a really high-
resolution image, use 2 pixels. If it's a
6- or 8-megapixel image (or smaller),
just use 1 pixel, then click OK (you
probably won't see anything onscreen
when you do this—you just have to
trust that it actually expanded out-
ward by a pixel or two).
Step Three:
To get a realis tic color for the sk y, we're
going to open another photo that already
has a nice sky color (you can download
this same photo, and most of the key
photos used in this topic, at the web ad-
dress listed in the introduction at the front
of the topic). Once you open the image,
switch to the Eyedropper tool
(I)
, and click
once on the brightest blue area in the
image (as shown here) to make that your
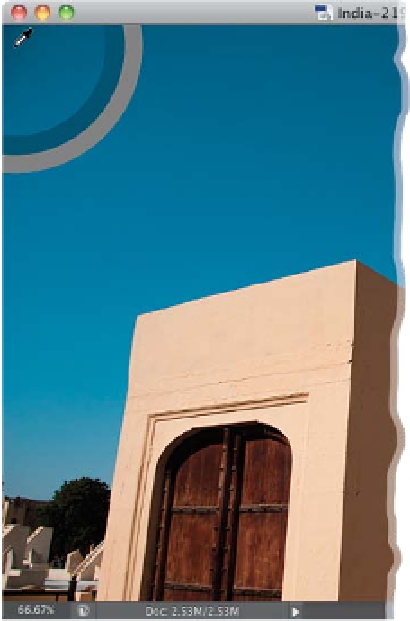
Foreground color. Now, press the letter
X
to swap your Foreground and Background
colors, then click the Eyedropper on the
darkest blue in the photo (higher in the
sky), so that now your Foreground is a
darker blue, and your Background is a
lighter blue.
TIP: The Color Selector Ring
That ring that appears when you use the
Eyedropper tool is there to help you see
which color you're selecting. The outside
ring is a neutral gray, which just helps to
make sure you're seeing the right color
without being influenced by other colors
around it. The bottom half of the inside
ring shows the old color, and the top half
shows what your Foreground color would
change to if you clicked right now.