Graphics Programs Reference
In-Depth Information
We all wind up shooting subjects that are backlit (where the light is behind your
subject). That's because our eyes automatically adjust to the situation and we see
the subject just fine in our viewfinder. The problem is our cameras aren't nearly as
sophisticated as our eyes are, so you're almost guaranteed to get some shots where
the subject is way too dark. Although I feel you get better results using Camera Raw's
Exposure and Highlights sliders, the Shadows/Highlights adjustment does a fairly
decent job, and there's a trick you can use to make the adjustment re-editable.
When Your
Subject Is in
the Shadows
Step One:
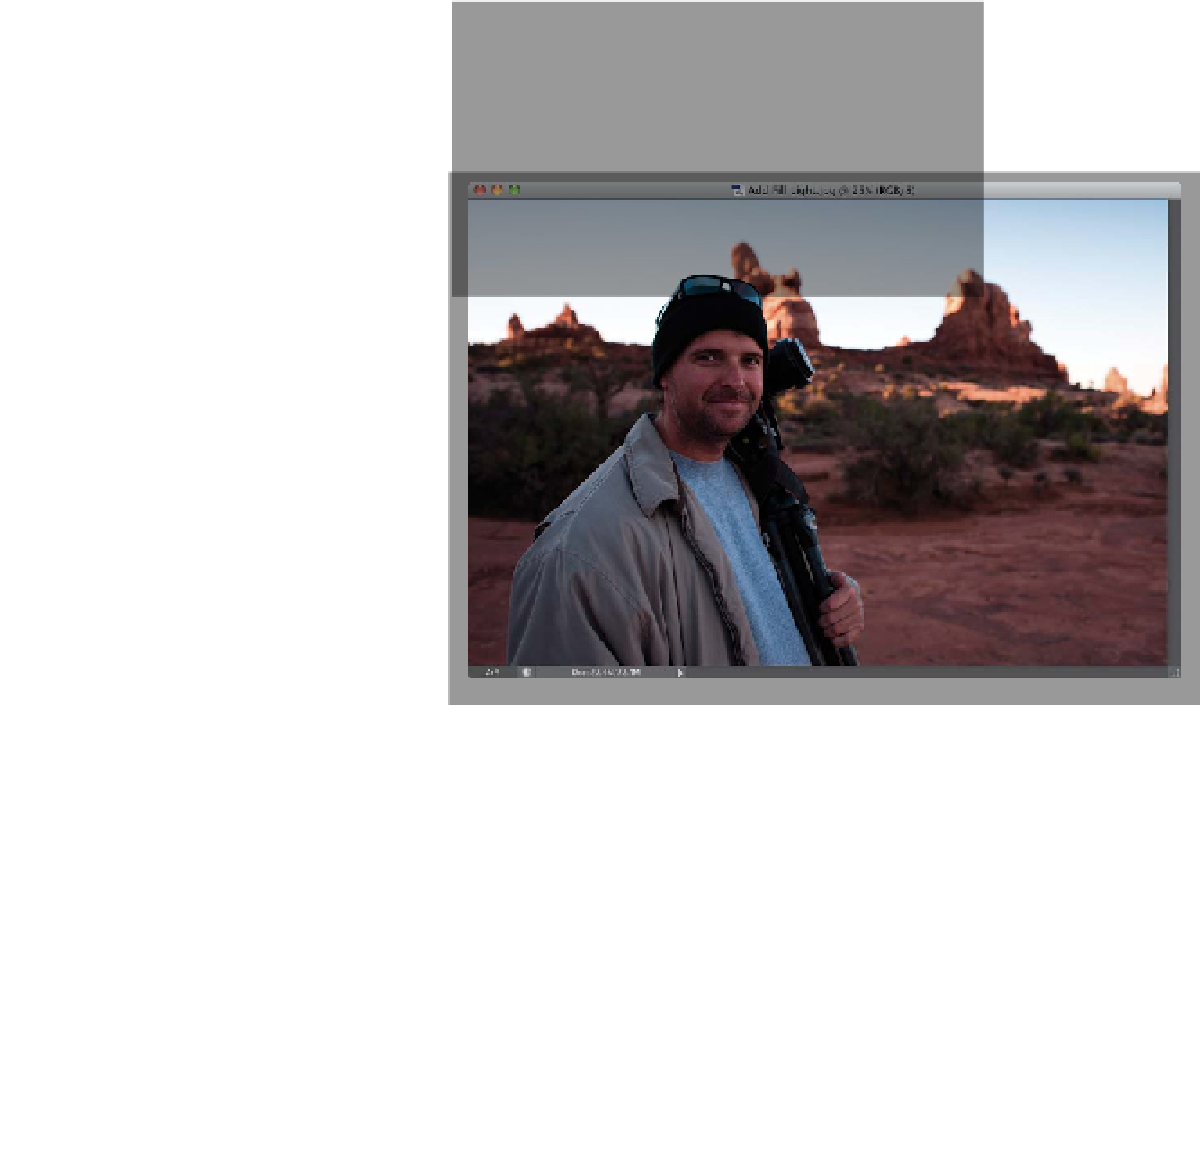
Open a photo where your subject is
in the shadows (it can be a person, or
a building, or anything backlit). In this
example, the light is behind our subject,
so he's pretty much fully in the shadows.
Ideally, we'd like to brighten him up, and
the area around him, as well, to balance
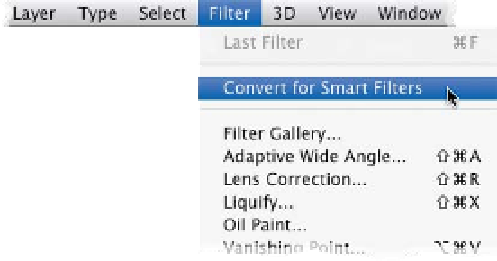
out the light in the photo. To do this, first
go under the Filter menu and choose
Convert for Smart Filters
. This lets you
apply the adjustment as if it was an ad-
justment layer (meaning you can re-edit
it later if you need to, or even delete the
adjustment altogether). Even though the
adjustment we're going to apply isn't
found under the Filter menu, for some
reason Adobe lets it act like it is a smart
filter, so why not take advantage of
it, eh? Now go under the Image menu,
under Adjustments, and choose
Shadows/Highlights
.