Graphics Programs Reference
In-Depth Information
Step Three:
Now, if you're already done with your
second round of tweaking in Camera
Raw, and you decide you want to add
an edge vignette, you don't have to go
back to Camera Raw again, because the
Lens Correction filter in Photoshop also
lets you do vignetting (although I don't
like the quality nearly as much as the Post
Crop Vignetting in Camera Raw). To get
to this, go under the Filter menu in Photo-
shop and choose
Lens Correction
. When
the dialog appears (shown here), click
on the Custom tab near the top right.
In the Vignette section, drag the Amount
slider to the left to darken the edges, and
then drag the Midtone slider to the left
a bit, too. These same controls are also
found in Camera Raw and do the same
thing (if you go to the Lens Corrections
panel and click on the Manual tab).
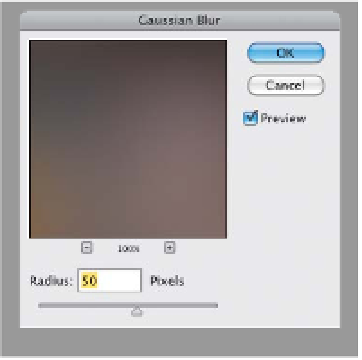
Step Four:
To get the Sof t Glow finishing move
that's so popular for HDR images, try
this: Press
Command-J (PC: Ctrl-J)
to
duplicate your Background layer, then
go under the Filter menu, under Blur,
and choose
Gaussian Blur
. Enter 50
pixels for your Blur amount, and click OK,
then at the top of the Layers panel, lower
the Opacity of this blurry layer to 70%.
It still looks really blurry, but what gives
this the right look is when you change
the blend mode of this blurry layer from
Normal to
Soft Light
. Now, you get that
soft glow across the image that takes the
edge off the harsh HDR look. Again, both
of these finishing moves are optional, so
don't think you have to apply them, but
now at least if you do want to apply them,
you know how to do it.