Graphics Programs Reference
In-Depth Information
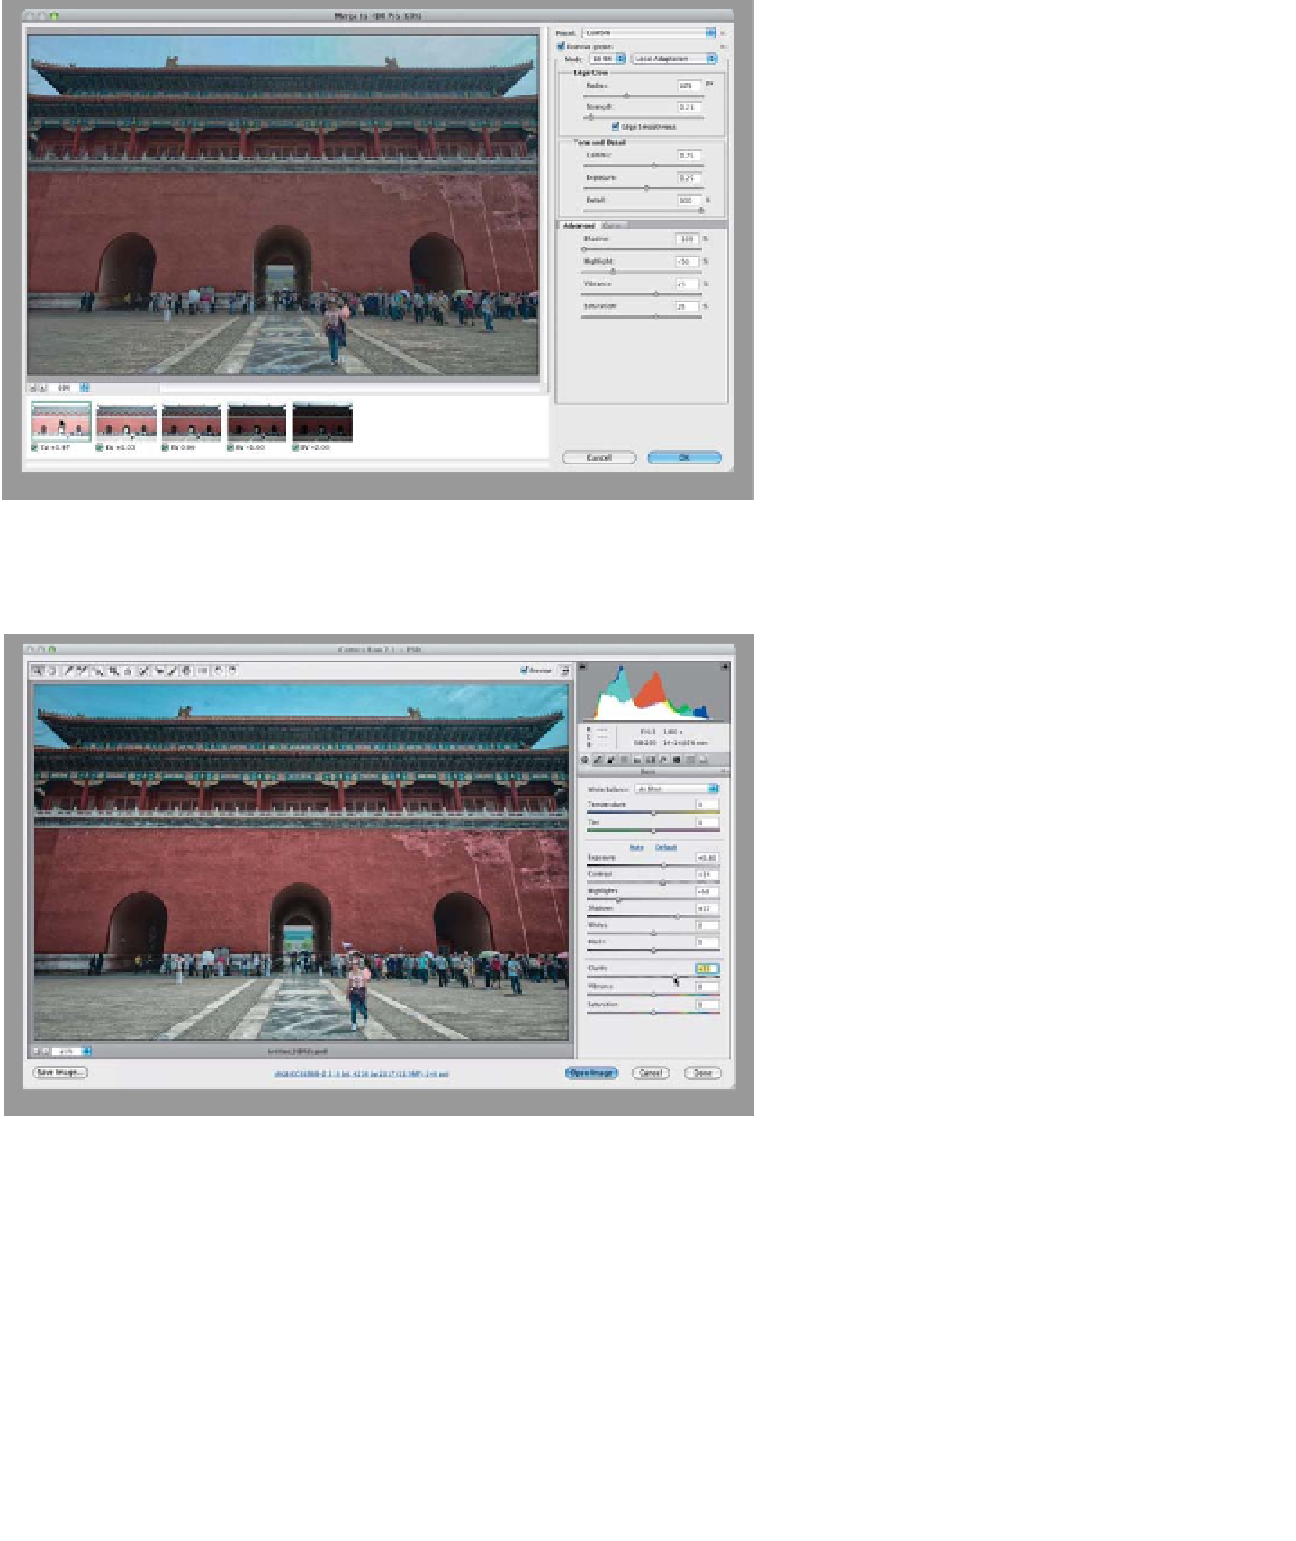
Step Three:
The thumbnail with the green highlight
around it is the one it chose to lock onto
for de-ghosting purposes (you'll only see
this green highlight when the Remove
Ghosts checkbox is on), and if you look
back in Step Two, you'll see that it origi-
nally chose the thumbnail on the far right.
If you want to try one of the other images,
and see if using it does a better job than
the one Photoshop chose, just click on it
down in the filmstrip. Here, I clicked on
the first image, but it actually looks worse.
(
Note:
If you shot a multi-photo exposure
of something, like waves rushing to the
shore, you can actually choose which
individual wave you want visible using
this same technique, so it's not just for
ghosting.) So, at this point, I'd click back
on the far-right thumbnail.
Step Four:
Now, what would you do if the Re-
move Ghosts checkbox didn't work at
all? Then, you'd use the trick you'll learn
in the next project (“Creating a Blended
HDR”), and you'd paint in the original
person from the single still image (it
works really well actually). In this case,
it worked (yay), so now you would just
finish this HDR image off just like you
learned earlier in this chapter—by saving
it as a TIFF, PSD, or JPEG, then reopen-
ing it in Camera Raw for the finishing
moves. In this case, I added an edge
vignette in the Lens Corrections panel
(what's an HDR without a huge vignette,
eh?), and then I used the settings you
see here in the Basic panel: it's kind of
underexposed, so increase the Expo-
sure to +0.80, add some Contrast by
increasing it to +14, pull back the bright
highlights by dragging the Highlights
slider to the left to -53, and open up
those shadows in the three archways
by dragging the Shadows slider to +37.
Lastly, as always, I pumped up the Clar-
ity (in this case, to +33, as shown here).