Graphics Programs Reference
In-Depth Information
Step 15:
Click the Open Image button to re-open
the image in Photoshop. At this point,
I generally add two finishing moves (the
same two I did in the Down & Dirty HDR
project before this one): (1) I add High
Pass sharpening (you can look back at
the Down & Dirty project, or just check
out page 189 to see how to add this),
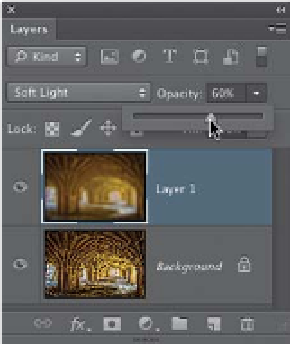
and (2) I add a soft overall glow by du-
plicating the Background layer, then
adding a 50-pixel Gaussian Blur (that's
based on a 12-megapixel camera file.
If you're shooting a higher megapixel
camera, you might have to use 60 or 70
pixels of blur), then lower the Opacity of
this layer to 60%, and lastly change the
blend mode of this blurry layer to
Soft
Light
(as shown here) to create the glow
effect (you can find more on exactly how
to do this in the Down & Dirty project).
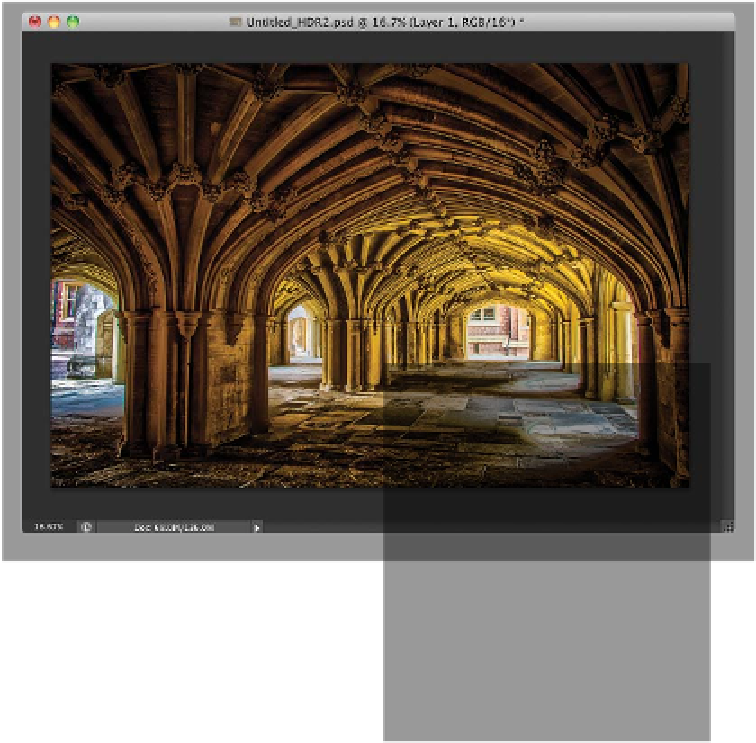
A before and after is shown below.
The original normal-exposure image
The HDR image after being processed with HDR Pro, along with edge
vignetting, sharpening, and the glow finishing move