Graphics Programs Reference
In-Depth Information
Step Seven:
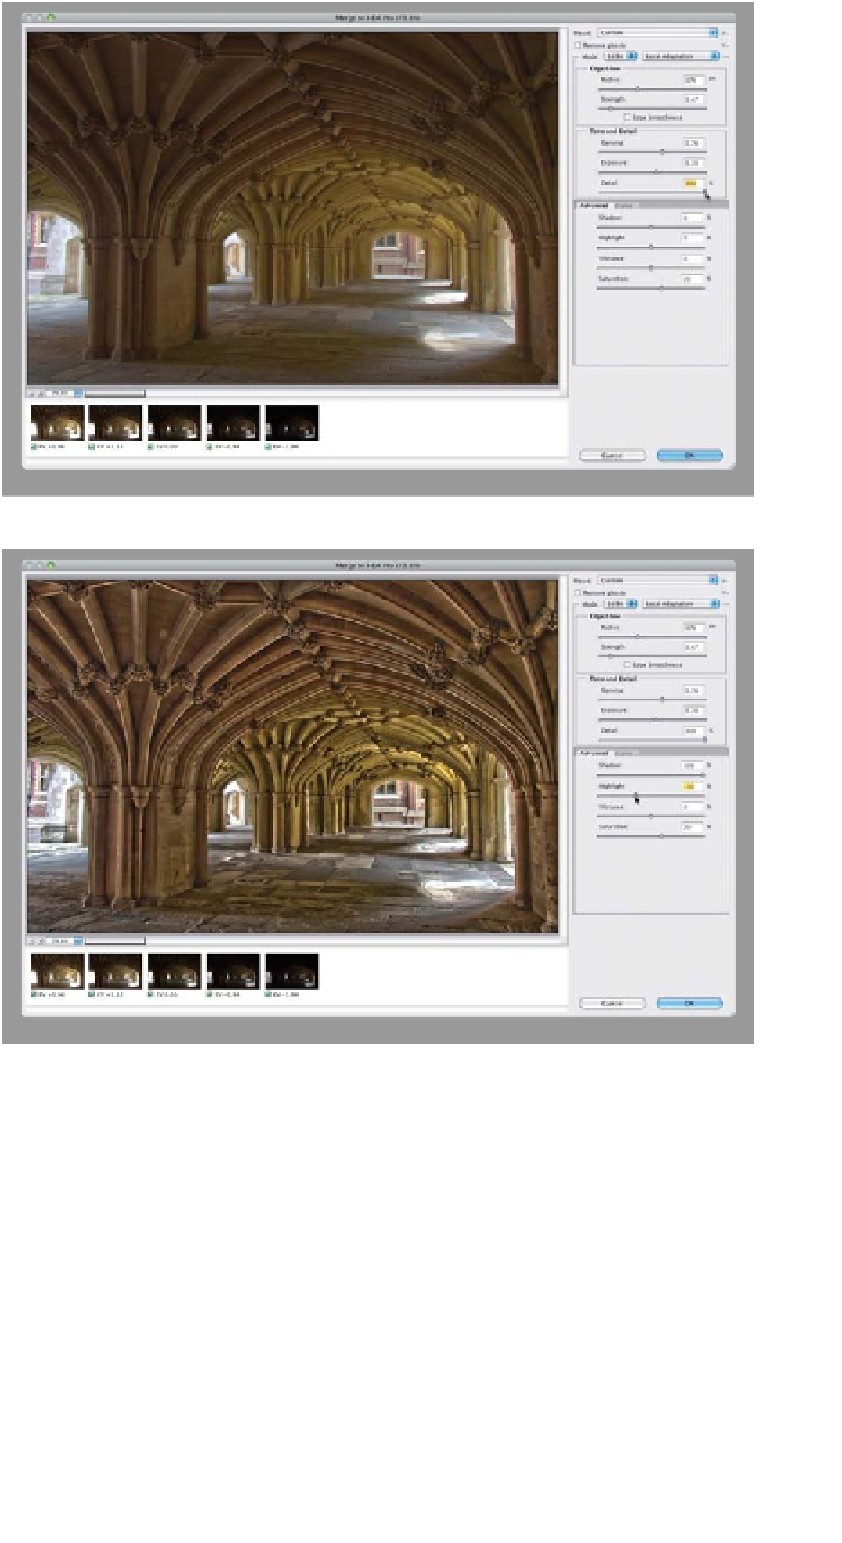
The next slider down is the Detail slider,
which kind of acts like the Clarity slider
in Camera Raw (it adds something simi-
lar to midtone contrast). Think of this as
the “Make it look like HDR” slider, and
cranking this one way up helps to cre-
ate the hyperreal artistic look. In this
case, set the Detail amount at 300%
(as shown here). It's starting to now get
that “HDR look.”
Step Eight:
Now, on to the Advanced tab (I have no
idea why these are called “Advanced,”
since these sliders live in the Basic panel
in Camera Raw and do very similar things).
The top two sliders—Shadow and High-
light—don't usually have a big effect.
Dragging the Shadow slider to the right
makes the shadow detail lighter—kind
of like Camera Raw's Shadows (but with-
out as much power). The Highlight slider
acts like Camera Raw's Highlights slider
and dragging it to the left pulls back the
very brightest highlight areas, but again,
it doesn't have nearly as much effect
as Camera Raw's Highlights slider. Here,
go ahead and set the Shadow amount at
100%, which brightens up the shadow
areas inside the arches, and lower the
Highlight amount to -30%, which re-
duces some of the really bright lights in
the stone floor. Now, keep in mind that
these are two sliders that will change
some from image to image. Most of the
time, I wind up lowering the Highlight
amount either a little or a lot (depending
on the image), and raising the Shadow
amount to keep the shadows from getting
too dark. But, again, it just depends on
the image.


