Graphics Programs Reference
In-Depth Information
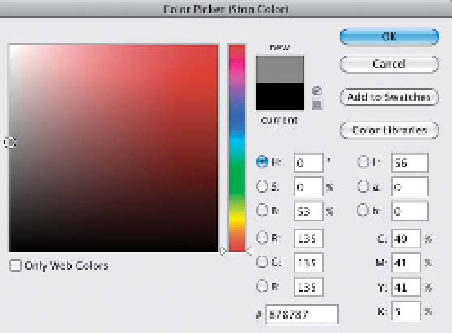
Step Five:
Double-click directly on that color stop
you just created and Photoshop's Color
Picker appears (seen here). Click-and-
drag your cursor all the way over to the
left side of the Color Picker, right up
against the edge (as shown here), and
pick a medium gray color. As you slide
up and down that left side, let go of the
mouse button and look at your photo.
You'll see the midtones changing as
you drag, and you can stop at any point
where the image looks good to you.
Once you find a spot that looks good
(in our case, one in the center), click OK
to close the Color Picker (don't close the
Gradient Editor, just the Color Picker at
this point, because there's another tweak
you can do. Of course, this is all optional
[you could have stopped back at Step
Three], but now we have some extra
editing power if we want it).
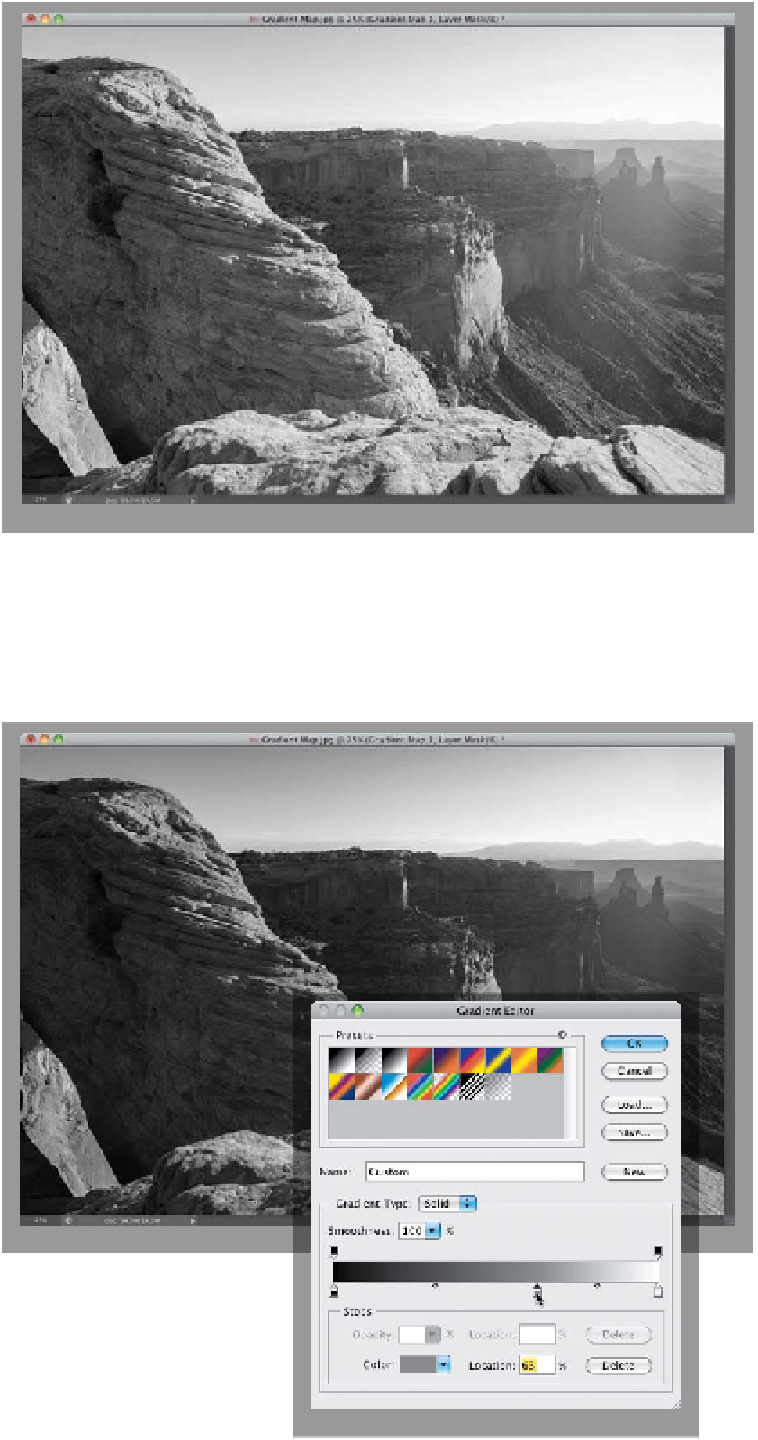
Step Six:
Once you're back at the Gradient Editor,
and your color stop is now gray, you can
drag that middle gray stop around to
adjust the tone of your image (as shown
here). What's weird is you drag the oppo-
site way that the gradient shows. For
example, to darken the photo, you drag
to the right, toward the white end of the
gradient, and to lighten the photo, you
drag left toward the dark end. Freaky,
I know. One other thing: unlike almost
every other slider in all of Photoshop, as
you drag that color stop, you do not get
a live preview of what's happening—you
have to release the mouse button and
then it shows you the results of your
dragging. Click OK, and you're done.