Graphics Programs Reference
In-Depth Information
We've all run into situations where our image is a little smaller than the area where
we need it to fit. For example, if you resize a digital camera image so it fits within
a traditional 8x10" image area, you'll have extra space either above or below your
image (or both). That's where Content-Aware Scaling comes in—it lets you resize
one part of your image, while keeping the important parts intact (basically, it
analyzes the image and stretches, or shrinks, parts of the image it thinks aren't
as important). Here's how to use it:
Resizing Just Parts
Using “Content-
Aware” Scaling
of Your Image
Step One:
Create a new document at 8x10" and
240 ppi. Open a digital camera image,
get the Move tool
(V)
, and drag-and-drop
it onto the new document, then press
Command-T (PC: Ctrl-T)
to bring up
Free Transform. Press-and-hold the Shift
key, then grab a corner point and drag
inward to scale the image down, so it fits
within the 8x10" area (as shown here on
top), and press
Return (PC: Enter)
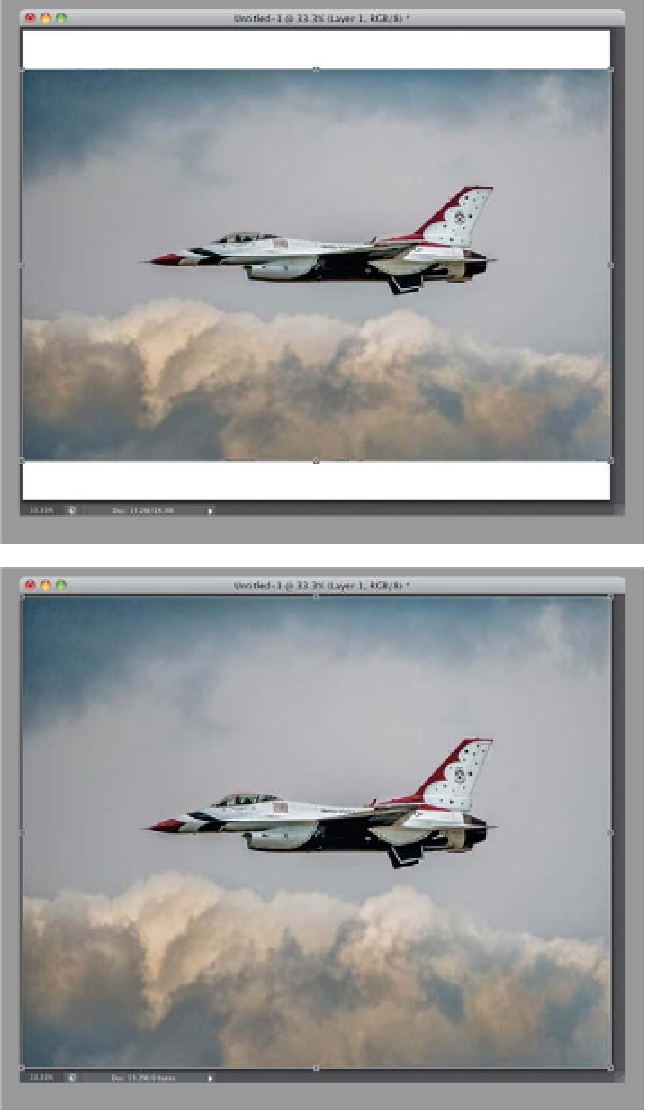
. Now,
in the image on top, there's white space
above and below the photo. If you want
it to fill the 8x10 space, you could use
Free Transform to stretch the image to do
so, but you'd get a short, squatty version
of the jet (seen at bottom). This is where
Content-Aware Scale comes in.