Graphics Programs Reference
In-Depth Information
Step Five:
Here, I've lowered the Resolution setting
to 180 ppi. (Again, you don't need nearly
as much resolution as you'd think, but
180 ppi is pretty much about as low as
you should go when printing to a color
inkjet printer.) As you can see, the Width
of my image is now almost 24" and the
Height is now almost 16". Best of all,
we did it without damaging a single
pixel, because we were able to turn off
Resample Image, which normally, with
things like scans, we couldn't do.
Step Six:
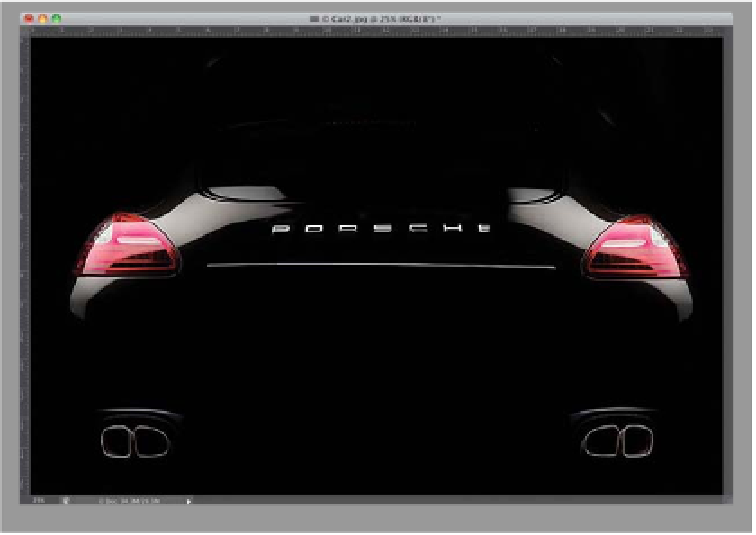
When you click OK, you won't see the
image window change at all—it will
appear at the exact same size onscreen—
but look at the rulers. You can see that it's
now almost 16" high by almost 24" wide.
Resizing using this technique does three
big things: (1) it gets your physical dimen-
sions down to size (the photo now fits
easily on a 16x24" sheet); (2) it increases
the resolution enough so you can out-
put this image on a color inkjet printer;
and (3) you haven't softened, blurred,
or pixelated the image in any way—the
quality remains the same—all because
you turned off Resample Image.
Note:
Do not turn off Resample Image for
images that you scan on a scanner—
they start as high-res images in the first
place. Turning Resample Image off like
this is only for low-res photos taken with
a digital camera.


