Graphics Programs Reference
In-Depth Information
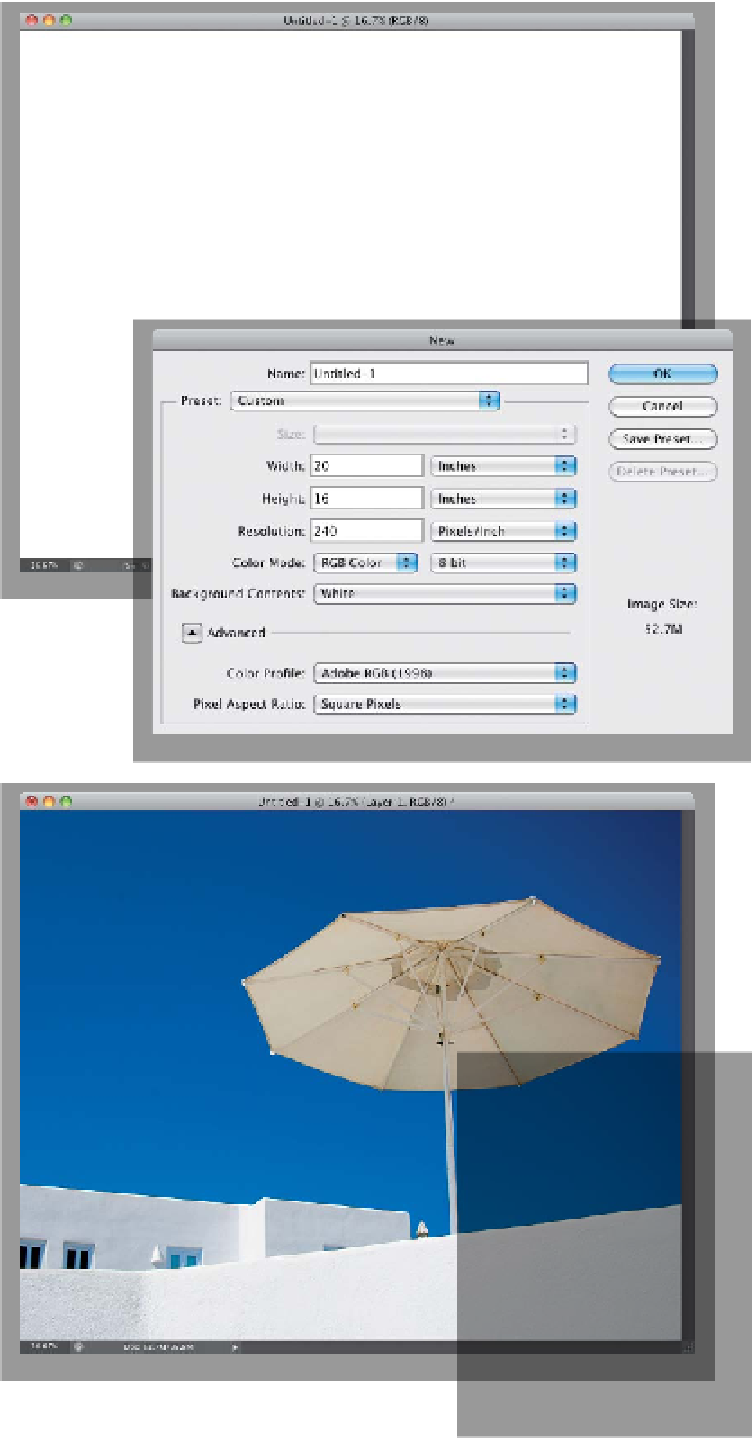
Step Three:
Okay, here's that (ahem) other method:
Go under the File menu, under New,
and choose
Document
. When the New
dialog appears, enter 20 inches by 16
inches, and enter 240 for Resolution, then
click OK to create a new blank document
in the exact size and resolution you need
(as seen here).
TIP: Cropping to Another
Photo's Size
If you already have a photo that is the
exact size and resolution that you'd like
to apply to other images, you can use
its settings as the crop dimensions. First,
open the photo you'd like to resize, and
then open your ideal-size-and-resolution
photo. Get the Crop tool, and then from
the pop-up menu at the left end of the
Options Bar, choose
Size & Resolution
.
In the dialog that appears, choose
Front
Image
from the Source pop-up menu,
and click OK. Photoshop will automati-
cally input that photo's dimensions into
the Crop tool's Width and Height fields.
All you have to do is crop the other image,
and it will share the exact same specs as
your ideal-size photo.
Step Four:
Now, get the Move tool
(V)
, click on
the image you want cropped to that
size, and drag it onto that new blank
document. While you still have the Move
tool, click-and-drag the image around
within the window so it's cropped the
way you want it, then press
Command-E
(PC: Ctrl-E)
to merge this layer with the
Background layer, and you're set. As you
can see, they both kind of do the exact
same thing, so which one's right? The one
you like best.