Graphics Programs Reference
In-Depth Information
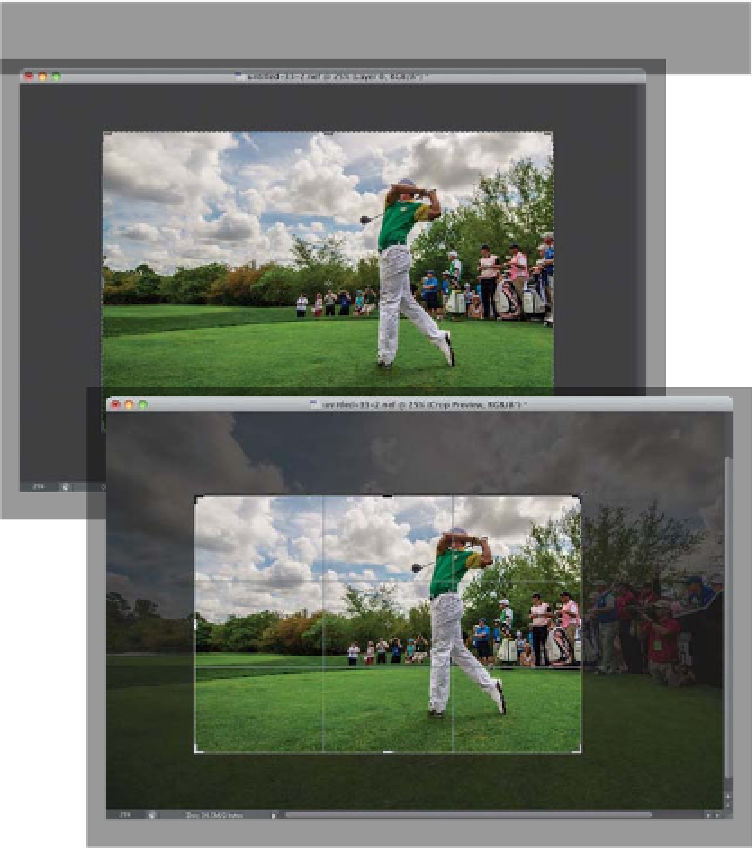
Step 11:
Before you actually commit to cropping
your image, you have a decision to make.
Luckily, it's probably a decision you'll
make once, based on how you like to
do things, so you won't have to make it
every time. You get to decide if the part
of your image that gets cropped away
from view is: (a) gone forever, or (b) just
hidden from view and, if necessary, can
be brought back. You choose this by turn-
ing on/off the Delete Cropped Pixels
checkbox up in the Options Bar (shown
circled here in red). With it turned on,
when you crop, the stuff outside the
border is cropped away (and you get a
smaller file size). If you turn if off, it keeps
those areas in the file, even though you
can't see them (well, not until you click
on the Crop tool again and click-and-drag
the cropping border back out). If you
need the photo a specific size, but aren't
happy with the way your first crop looks,
you can move the image around with the
Move tool
(V)
, or click on the cropping
border while the Crop tool is active, then
click on the image and move it.
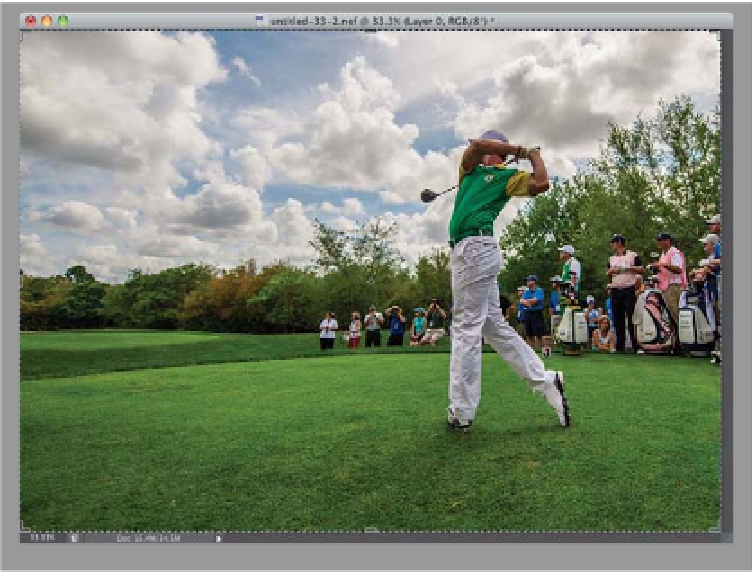
Step 12:
Once you have the cropping border right
where you want it, press the
Return (PC:
Enter) key
to crop your image. The final
cropped image is shown here, where we
cropped off some of the crowd on the
right side, and the lens peeking into the
frame from above my shooting position
(down on one knee), and some of the
excess grass on the tee box.