Graphics Programs Reference
In-Depth Information
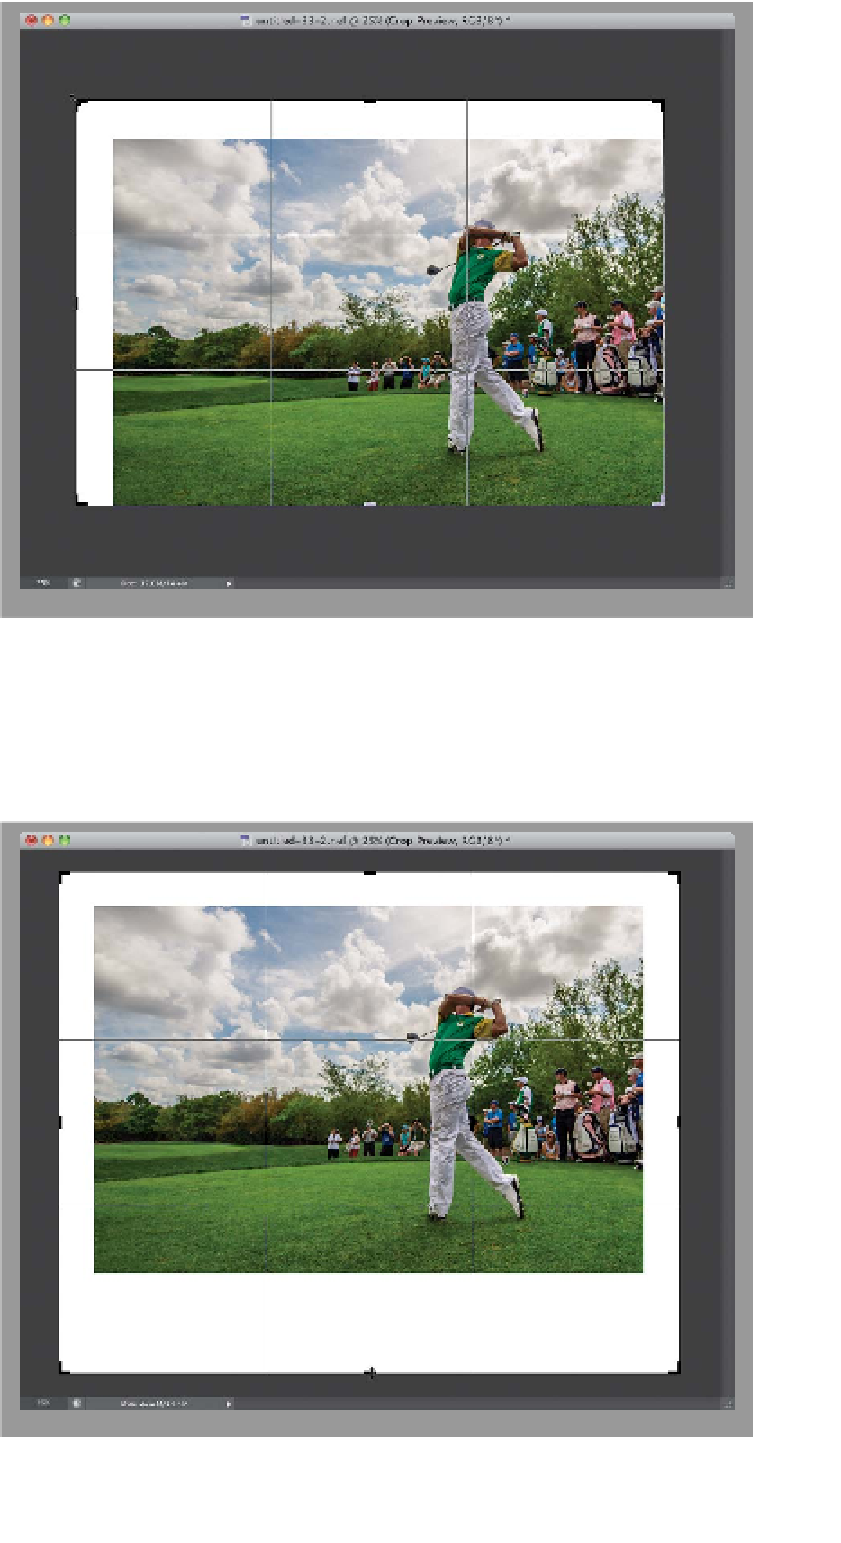
Step Nine:
This is something you could actually do
in previous versions of Photoshop, but it's
just easier and more intuitive in CS6, and
that is to add canvas area around your
image using the Crop tool. One quick
thing to check first: if you want a white
background for your canvas area (and my
guess is, most times you will), then before
you even click on the Crop tool, press
the letter
D
on your keyboard to set your
Background color to white. Then, once
you click on the Crop tool, make sure
Unconstrained
is selected in the pop-
up menu at the left end of the Options
Bar, otherwise the cropping border will
be constrained to the aspect ratio of your
image (in this case, we want the bottom
section to be deeper than the sides and
top). Now, grab a cropping handle and
drag the border outward to add canvas
area. Here, I clicked on the top-left crop-
ping handle and dragged up and to the
left (at a 45° angle), and it expanded the
top and left side areas around my image.
Step 10:
Here, I dragged the right side out and
then dragged the bottom-center handle
down quite a bit to add a fine art poster
mat look around my image.
TIP: Skip Holding the Shift Key
You already know that to keep your crop -
ping proportional, you press-and-hold
the Shift key, right? Here's how to skip
having to hold that key ever again, yet
still keep it proportional: close any open
images, grab the Crop tool, and then
choose
Original Ratio
from the pop-up
menu at the left end of the Options Bar.
Now, it's your default setting. How cool
is that?