Graphics Programs Reference
In-Depth Information
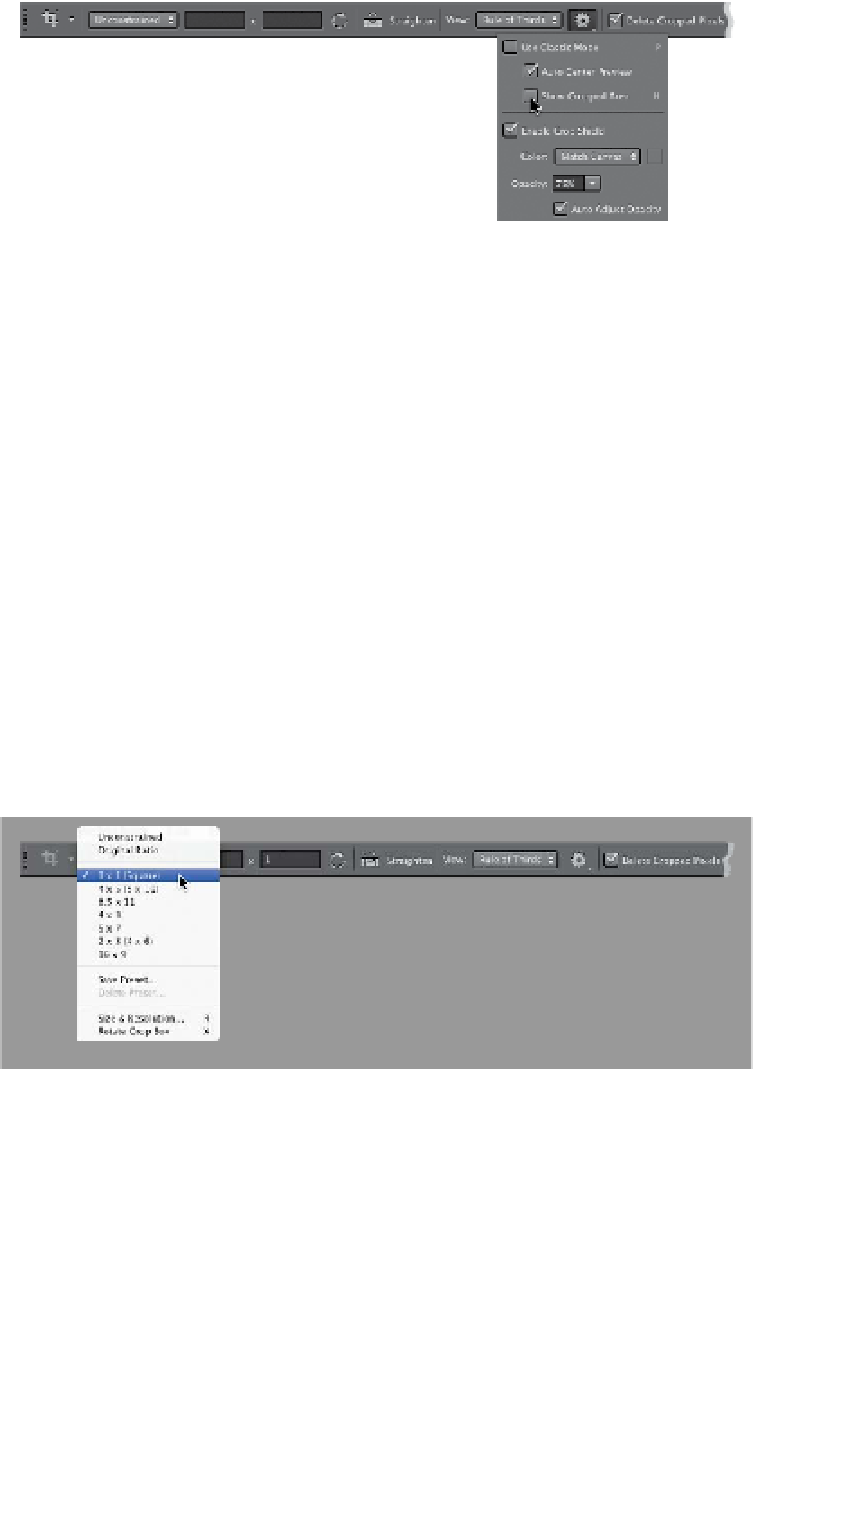
Step Five:
That other option (2) is more powerful
than it sounds, because it pretty much
brings one of the most popular crop-
ping features of Lightroom over here to
Photoshop CS6. In Lightroom, it's called
Lights Out cropping, and when you use
this, it blacks out everything surrounding
your crop area, so as you drag a crop-
ping handle, you see exactly what the final
image will look like without any distrac-
tions. If you click on the Set Additional
Crop Options icon, you can toggle this
on/off with the Show Cropped Area check-
box, but honestly it's quicker just to press
the letter
H
on your keyboard (it's easy
to remember—H for hide the distracting
stuff; click on a cropping handle first or it'll
switch to the Hand tool). Want to take it up
a notch? Once you've hidden the extra
stuff, hit the Tab key on your keyboard
and everything else (the Toolbox, panels,
Options Bar, etc.) hides temporarily, too.
The other options here only kick in if you
do have that dimmed cropped away area
visible (called the Crop Shield), and you
can make it lighter or darker by chang-
ing the Opacity amount, or you can turn
it off altogether by turning off the Enable
Crop Shield checkbox.
Step Six:
If you want to save some time, there's
a list of preset standard cropping sizes
in the pop-up menu at the left end of
the Options Bar (seen here). Just choose
the crop ratio you'd like (here, I chose a
square 1x1 ratio), and your crop border
automatically resizes to that size or ratio
(as shown here).