Graphics Programs Reference
In-Depth Information
Adobe completely overhauled cropping in Photoshop CS6, and it's a big improve-
ment (it was long overdue, since aside from a few minor enhancements, cropping
has been essentially unchanged since Photoshop 1.0). Here, we'll cover the basic
garden-variety cropping (and the new way of cropping in CS6), but since there are
many different ways to crop a photo in Photoshop (and different reasons why you'd
use one over another), we'll cover them all. If you're a Lightroom user, you'll be right
at home with this new cropping, because it works more like Lightroom's cropping.
for Photos
Step One:
Press the letter
C
to get the Crop tool
and you instantly see the first improve-
ment over previous versions of the tool:
you don't have to drag the cropping
border out over your photo—it's auto-
matically added around your image for
you (yay!). Now, just grab one of the cor-
ner or side handles and start dragging
inward to start cropping (as seen here)
and it crops in toward the center of the
image (the area to be cropped away will
appear dimmed). If you want to keep the
image proportions the same in your crop
(I usually do), just press-and-hold the
Shift key while you drag any of the crop-
ping handles. Also, you can reposition
your image within the border by clicking-
and-dragging on it.
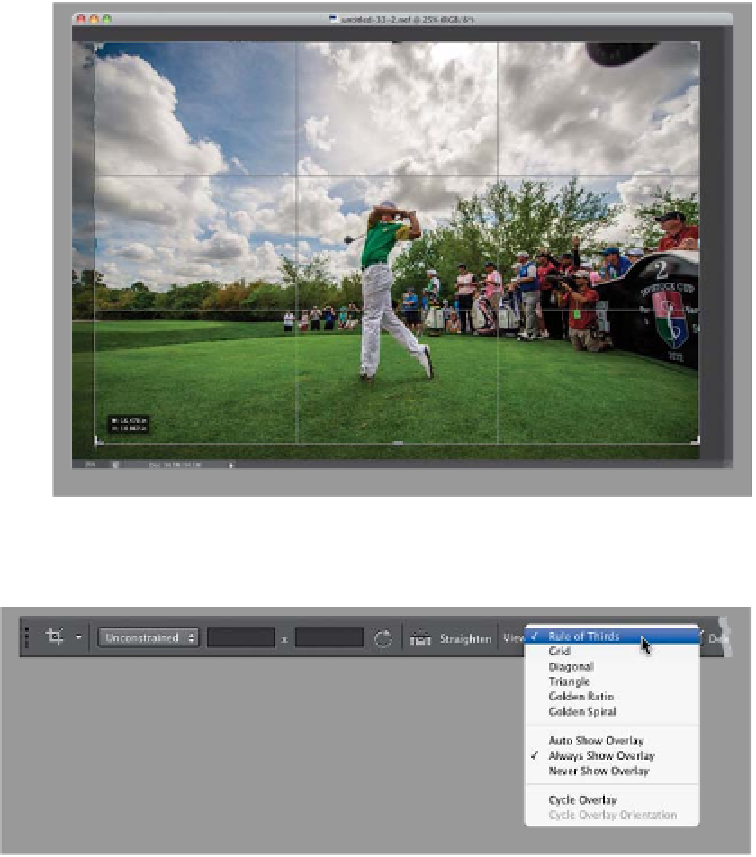
Step Two:
The Rule of Thirds overlay grid that you
see in Step One doesn't appear over
your photo until you actually drag one
of the cropping handles. If you see a
different overlay, just click on the View
pop-up menu in the Options Bar and
you'll see a list of the different overlays
you can choose (if you're not sure which
one you want, you can cycle through
them by pressing the letter
O
). There are
also three overlay options in the menu:
Always Show Overlay (once you start
cropping, it's visible even when you're
not cropping), Never Show Overlay, and
Auto Show Overlay (my favorite—it only
appears when you're actually cropping).