Graphics Programs Reference
In-Depth Information
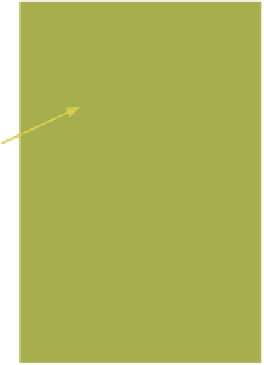
Figure 4.25
Paint is applied
to four faces (“All
Faces” is ticked).
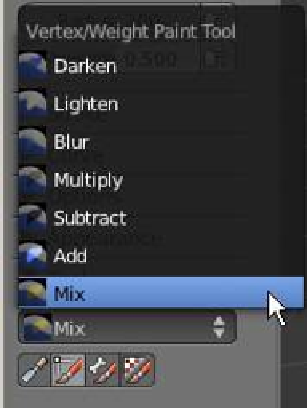
Drop down
selection menu
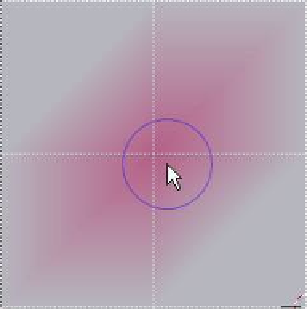
Cursor adjacent
to the vertex
Experiment with the
different modes to
determine their use.
The “Add” mode
appears to act like
an eraser.
Select this tool for
vertex paint.
Figure 4.24
Paint is applied
to only one face
(“All Faces” is
unticked).
Control handles
•
he “Stroke” tab.
This tab provides controls
for brush application; you should experiment
with the different effects.
Quick select
buttons
Remember that although the UV sphere looks like a flat
disc, it is in fact a 3D sphere. You can display the segments
and rings and subsequently the vertices and faces of the
sphere by activating the “Face Selection Mask” in the 3D
window header (Figure 4.27). When painting, you can only
paint the visible surface of the object. You have to pan the
3D view or rotate the object to paint the hidden surfaces (Figure 4.28). The vertex paint
color can only be seen in vertex paint mode or in a rendered image (Figure 4.29).
There is plenty to experiment with regarding this topic and, now that you have grasped
some of the basics, it's a good idea to look at some tutorials on the internet (see the Refer-
ences section of this manual for a starting point). Video tutorials pack in a lot of informa-
tion and there are some good tips to be found:
Figure 4.26
Tips:
• In vertex paint, the default viewing mode is “Solid.” I have mentioned
turning on “Face Select Mask” to see the mesh vertices, but you can also