Graphics Programs Reference
In-Depth Information
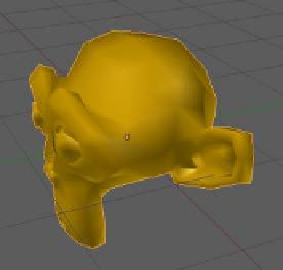
Open the color picker again and select a color you like. If
you want to match my example exactly, enter the RGB val-
ues R: 0.800, G: 0.430, and B: 0.000—we now have a pretty
golden monkey. The difference between what you see in
the 3D window and the rendered image is shown in Fig-
ure 4.8. The 3D window has some shadowing effect so that
you can see 3D features. This shadowing is evident in the
render, but in addition you can see some shiny highlights.
The shiny highlights are there because, by default, Blender
has added specular color (discussed next) to the monkey;
that's why we could see the monkey when we turned the
diffuse color intensity down to 0.000 in Figure 4.7. In effect,
we canceled the diffuse light reflection but there was still
specular light reflection.
See Figures 4.9 and 4.10 for comparisons of 3D win-
dow objects and rendered images, respectively, when the
intensity changes.
Intensity = 0.800
Color selected
3D window
Rendered image
Note the shiny
hightlights.
Figure 4.8
Intensity = 0.000 (no light)
Intensity = 0.500
Intensity = 1.000
Figure 4.9