Graphics Programs Reference
In-Depth Information
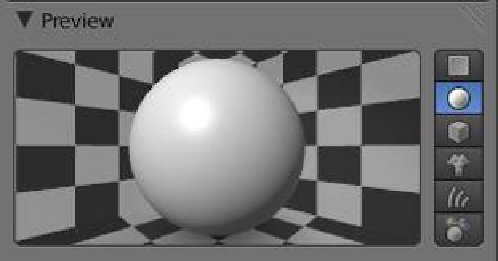
4.6 The Preview Tab
Take a look at the “Preview” tab in the material
properties window (Figure 4.5). This preview
gives an indication of what you will see in a
render of the 3D window. To save computer
memory, Blender does not display everything
in the 3D window. On the LH side of the “Pre-
view” tab, there are options for viewing the
preview in different formats. One of the op-
tions is “Monkey,” but for simplicity, I have left
my preview as the default sphere.
Preview monkey option
Figure 4.5
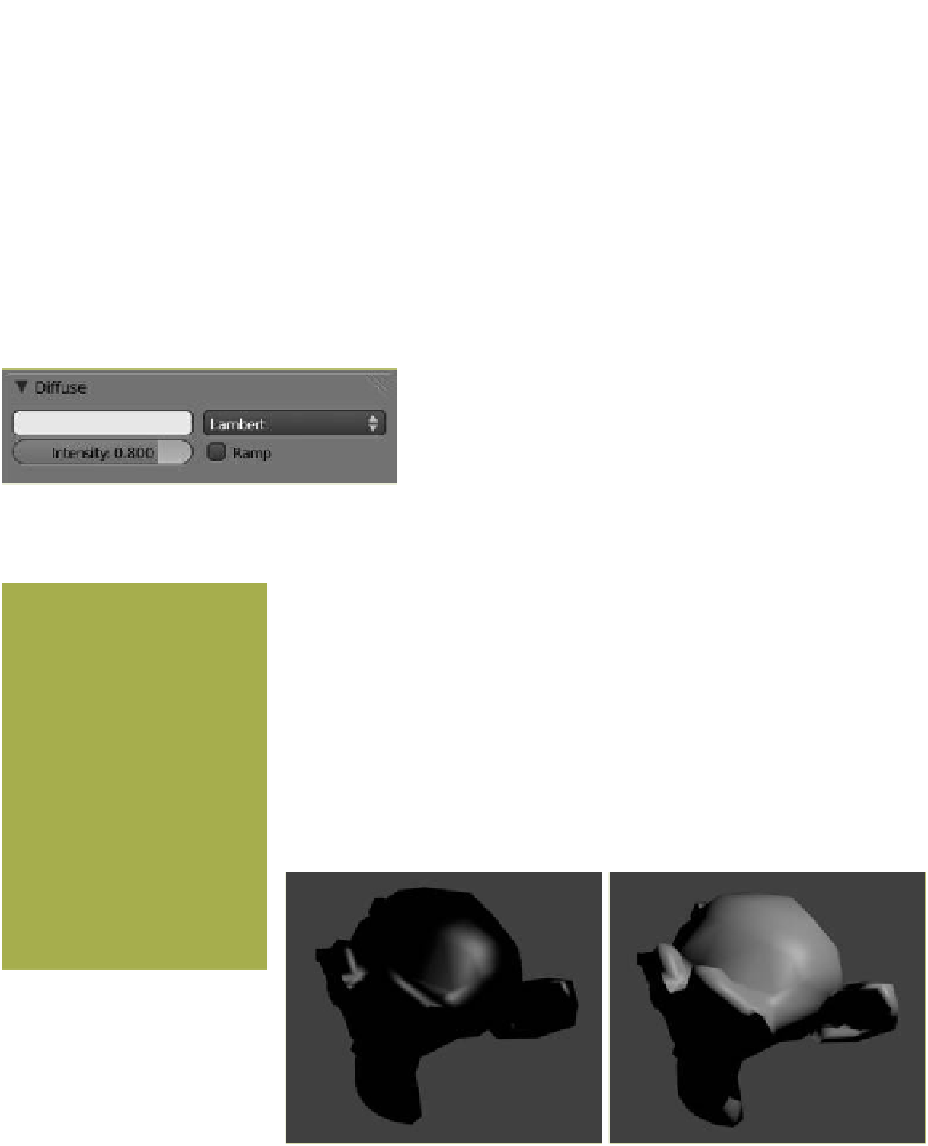
4.7 The Diffuse Tab
I previously stated that the monkey object had been as-
signed a gray color. This is the diffuse overall color of the
material. Click the gray bar to display the color picker and
note the R: 0.800, G: 0.800, and B: 0.800 values (Figure 4.6).
These are the numeric values that denote the gray color in
the RGB color system. RGB stands for “red, green, and
blue,” the primary colors. Mixing the three 0.800 values produces the gray
color. There are three color system options available: RGB, HSV, and Hex.
What is
intensity
? The intensity of a color is the shade of the color going
through a range from absolutely no light to maximum light. Figure 4.7,
which demonstrates intensity, also serves to show that light has a major ef-
fect on a rendered image. When the monkey was added to the scene, it was
added at the center of the world and then rotated on the
x
-axis by 90 de-
grees. This means that the position of the default lamp is above and behind
the monkey's head, which explains why the monkey's face is in shadow. So
how come we see the monkey when the intensity is 0.000 (no light)? We
will come back to that a bit later. For now, let's make the monkey a bit more
colorful.
Color bar showing the diffuse color:
click to display the color picker
Default color
(gray)
Intensity slider
Intensity = 0.000 (no light)
Intensity = 0.800
Color system
options
Figure 4.6
Figure 4.7