Graphics Programs Reference
In-Depth Information
Note:
In the default Blender scene, the
default cube object has been given a
material as seen by the gray color of the
cube object and the fact that the mate-
rial buttons are displayed in the proper-
ties window. Subsequent objects added
to the scene also display with this same
color although the material buttons for
a new object do
not
display. Clicking
on “New” will display the buttons. For
now, consider an object as
not
having
a material unless the “Material” button
displays all the tabs shown in Figure 4.2.
Remember, the values in the properties
window only apply to the object that is
selected in the 3D window.
Material slot
Material name:
click here to
type a new
name for your
matieral.
Material stack:
click here to
see all your
materials.
Preview panel:
shows a preview
of your material
when rendered.
Different preview options
When you click on the material button for
a new object, the properties window only dis-
plays the information in Figure 4.1. To add a
material to an object, first select the object you
want to work with (the default cube comes
with a material added). In the properties win-
dow header, click the “Material” button, then
click the “New” button. You will see the mate-
rial properties tabs open up. The values will be
the same as those for the default cube.
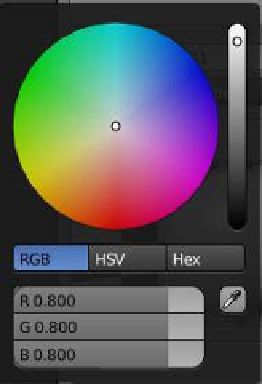
Color picker:
click in the color
bar to display
the color picker.
Tabs: click to
open the tab
and display
buttons.
Click to select
the color.
Figure 4.2