Graphics Programs Reference
In-Depth Information
Figure 3.56
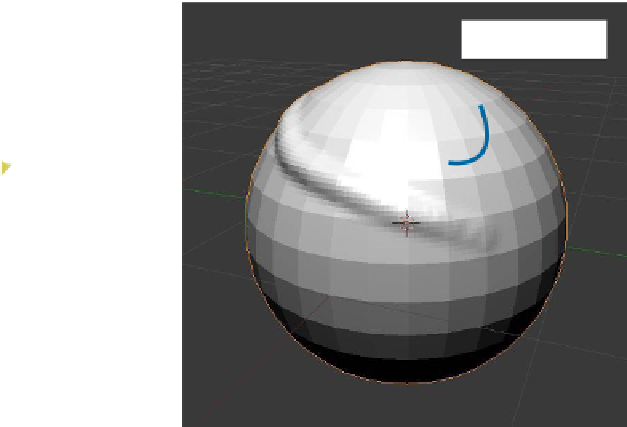
Figure 3.57
Welt on the
surface
Rotated sphere
visible surface (Figure 3.57). That is how the brush works, but of course there is much
more to it than that.
At the top of the “Brush” tab there is a small window showing part of a sphere with a
welt on the surface. By clicking the LMB on the window, a second panel displays showing
19 brush type options (Figure 3.58). You will see that type “F Sculpt Draw” is highlighted
in blue, which is the default brush type. Clicking on any of the different types selects that
particular type, making it active.
Go to the tool panel and open the “Tool” tab. You should see that the tool type “Draw”
is shown as being active. The tool type “Draw” is the same as “F Sculpt Draw.” Where you
see “Draw” is a drop down menu that lists the same 19 brush type options as before (Fig-
ure 3.59). You can select a brush type here as well. Note that below the drop down menu
button there are four options for brush selection. Since we are in sculpt mode, the “Brush
for Sculpt Mode” is active.
I will attempt to explain some of the control options for the brush. To do this, we will use
the default tool type “Draw.” There are many combinations of control options for the brush,
for which, unless we maintain a common baseline, an explanation would be impossible.
Experimenting is the only way to achieve proficiency.
3.27.1 The Brush Tab
he
radius slider
controls the size of the brush circle. Another way to change the size of
the brush circle is to press the F key and drag the mouse (Figure 3.60). Click with the LMB
when you have finished dragging.
he
strength slider
controls the strength of the brush influence on the vertices, the “Add”
button pulls vertices away from the surface, and the “Subtract” button pushes vertices into
the surface. (See Section 3.27.2 and Figure 3.62.)