Graphics Programs Reference
In-Depth Information
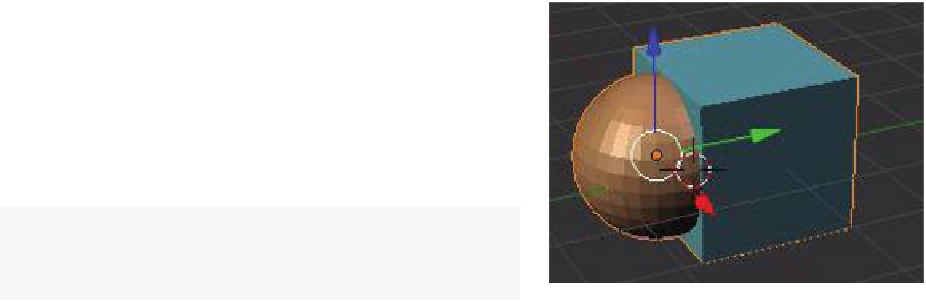
3.22 Joining and Separating Meshes
To join two or more meshes together, hold down the Shift key and click the RMB to select
them, then press Ctrl and J to join them. Th ey will retain any materials you have placed
on them, but they will be one object (Figure 3.31).
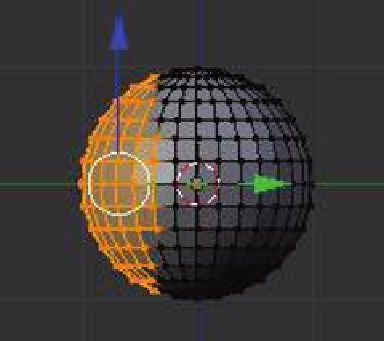
In order to break up a mesh, you need to be in edit mode
(Tab key) and select the vertices you wish to separate from the
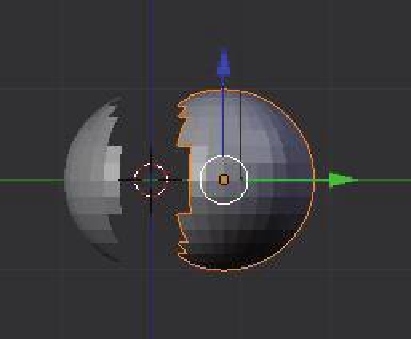
rest of the mesh (Figure 3.32). With the vertices selected, type
the P key (partition) and click on “By Selection.” You also have
an option to separate “By Loose Parts,” which means separat-
ing objects that were added while an object was in edit mode.
“Separate By Material” separates vertex groups with diff erent
colors assigned.
Learning
Unit 4
Joining Objects,
Separating
Objects
Note:
Pressing the P key in object mode deletes the scene
background. Press Esc.
Figure 3.31
Figure 3.32
Vertices selected
Separated: P key + “By Selection”
3.23 Deleting Vertices, Edges, or Faces
If you want to make a hole in a mesh, select the vertices, edges, or faces you wish to remove,
then hit the Delete key.
3.24 Adding Faces
Sometimes you need to fi ll in holes in a mesh by creating your own faces. To do this, go into
edit mode and select the vertices you wish to face together (you are limited to four vertices in
Learning
Unit 4
Rip Tool