Graphics Programs Reference
In-Depth Information
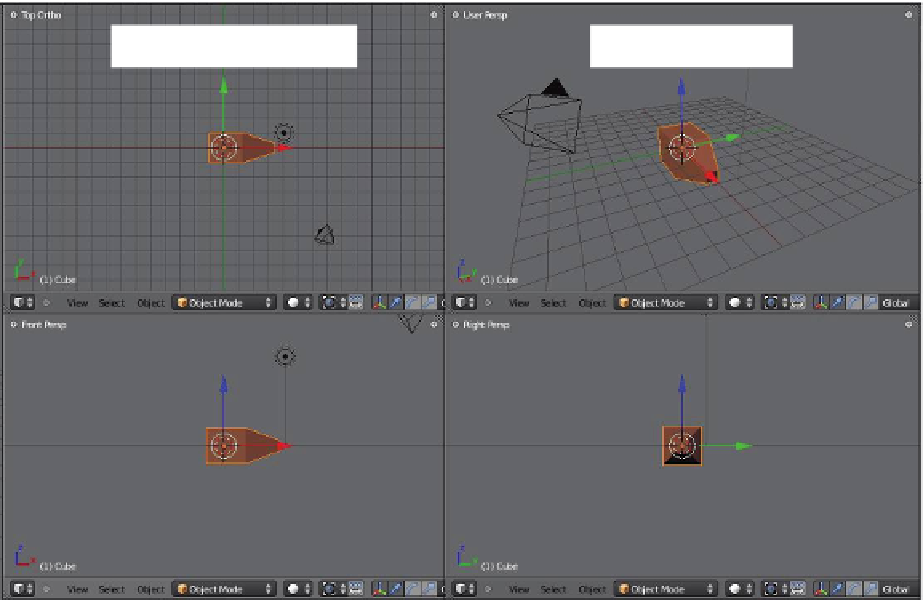
Number pad 7: top view
User perspective
Number pad 1: front view
Number pad 3: end view
Figure 1.20
Pressing the number pad 0 will put you into camera view (which is what the camera sees).
To get back to the user perspective view, press the number pad 5 twice. One press gets
a user orthographic view and the second press gets the user perspective view. However,
you'll notice that it's not quite the same as what we had in the default scene. We need to
rotate the view a bit. Click and hold the middle mouse button and wiggle it slightly; you'll
see the scene rotating in the window. Wiggle and practice is the best way to learn. Th is all
sounds a bit complicated, but you will soon get used to it.
When you go to camera view (number pad 0), most of the window becomes shaded
leaving a small window in the middle with a dotted line around it (Figure 1.21). Th is is
the part that will actually render to an image. Right click on the outer line and it turns
orange—this means you have the camera selected. You can now move and rotate the
camera like any object in any view. Th e shading in the camera view is called
passepartout
and can be removed to let you have a clear view of everything in the scene. I will show
you how to do that later.
Th e number pad arrow keys (2, 4, 6, 8) will rotate you around in 3D space (not in cam-
era view). Th e + and - keys on the number pad will zoom in and out. Th e number pad .
(period) key will center your view on the selected object on your screen.
Th e mouse serves a number of functions. Clicking the LMB in the 3D window reposi-
tions the 3D cursor in the scene. Wherever the 3D cursor is positioned is where the next
Learning
Unit 2
Camera View


