Graphics Programs Reference
In-Depth Information
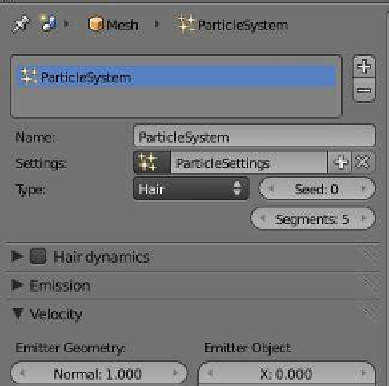
Figure 13.76
Figure 13.77
and the LMB to drag the circle to select (scroll the MMB to
change the circle size and press Esc to cancel when your selec-
tion is finished). Leave the vertices selected and click on the
“Object Data” button in the properties window. In the “Vertex
Groups” tab, click on the + sign to add a vertex group. In the
name box, click on “Group” and delete it (Blender names every
new vertex group “Group”). Type in “Hair” and press Enter to
rename the group (Figure 13.75). You will note that the group
highlighted in blue in the window changes because we still have our vertices selected. Now
in the “Vertex Groups” tab, just below “Name” click on the “Assign” button—this assigns the
selected vertices to the vertex group named “Hair.”
So far, there is a head and we have nominated an area on the head by selecting a group
of vertices. We do not have hair. Go to the “Particles” button and click on the + sign to add
a particle system. Change “Type: Emitter” to “Type: Hair” (Figure 13.76). Still, nothing hap-
Figure 13.78
Figure 13.79