Graphics Programs Reference
In-Depth Information
Figure 13.35
Figure 13.36
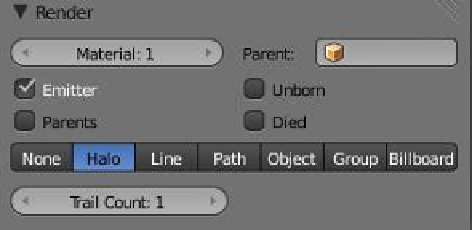
Figure 13.37
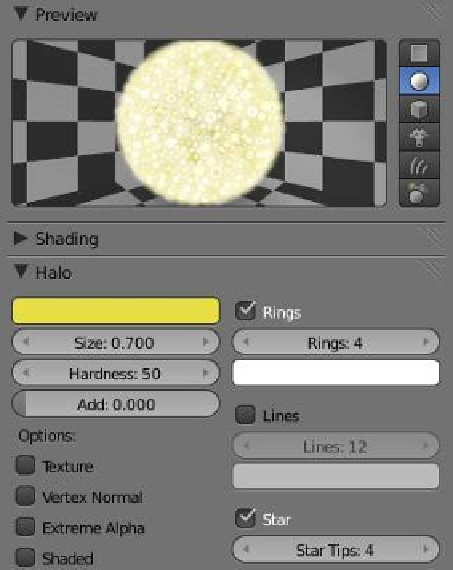
Figure 13.38
same time introduce a few more tricks to give you the
feel for the versatility of the particle system.
Open a new Blender scene, delete the cube, and add
a plane object. Leave the “Gravity” box in the “Scene”
button ticked to maintain a gravity effect. With the
plane selected, go to the properties window - “Par-
ticles” button and add a particle system. In the “Emission” tab, change “Amount: 61” and
“Lifetime: 200” (Figure 13.37). In the “Velocity” tab, change “Normal: 7.500” and “Emitter
Object Y: 0.990.” At the bottom of the “Velocity” tab set “Random: 2.” We are decreasing the
amount of particles so we don't flood the scene, but changing the “Lifetime” value makes the
particles visible longer in the animation. We still have gravity working, but with normal veloc-
ity at 7.500 the particles will project up before descending. Setting “Emitter Object Y: 0.990”
gives the particles a slight horizontal velocity along the
y
-axis, making them move in an arc.