Graphics Programs Reference
In-Depth Information
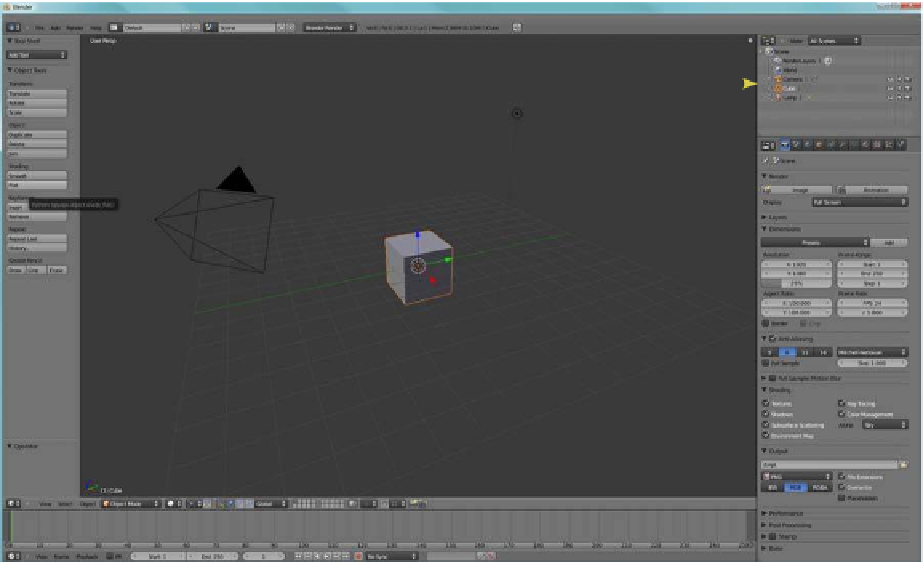
3D window
Outliner window
Properties window
Timeline window
Figure 13.1
13.2 Setting Up a Particle System
Open Blender, delete the default cube object from the scene, and add a new UV sphere.
Leave the default values for the sphere as they appear in the properties window. With the
sphere selected, go to the properties window and click the “Particles” button. Click on the
white + sign next to the empty panel to add a particle system (Figure 13.3). The window
will display with an array of tabs and buttons that allow the setup of the system—this may
appear daunting at first, but Blender has automatically created a system with default settings
(Figure 13.4). The first thing to note is the “Type: Emitter”
at the top of the panel. Click-
ing on the tab where the word “Emitter” is displayed will open a drop down menu with
the selection options “Emitter” and “Hair.” (“Type: Hair” is a separate system that will be
discussed later.)
With the cursor in the 3D window, press Alt + the A key to run an animation showing
particles being generated. Note that the timeline window is displayed across the bottom of
the screen and will show a green line moving as the animation plays. With the emitter object
selected, the animation will play showing particles as small orange squares being emitted from
the UV sphere and then falling towards the bottom of the screen (Figure 13.5). If the emitter
object is not selected, the particles show as small black dots. The animation will play for 250
frames then repeat itself. Press Esc to stop the animation. Using the up/down arrows on the
keyboard or by dragging the green line in the timeline, move the animation forward to