Graphics Programs Reference
In-Depth Information
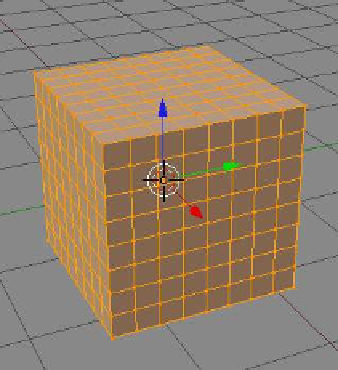
Start with the default Blender scene and with the cube selected
in edit mode, subdivide it three times (Figure 12.58). Tab back to
object mode and in the properties window - “Object Modifiers”
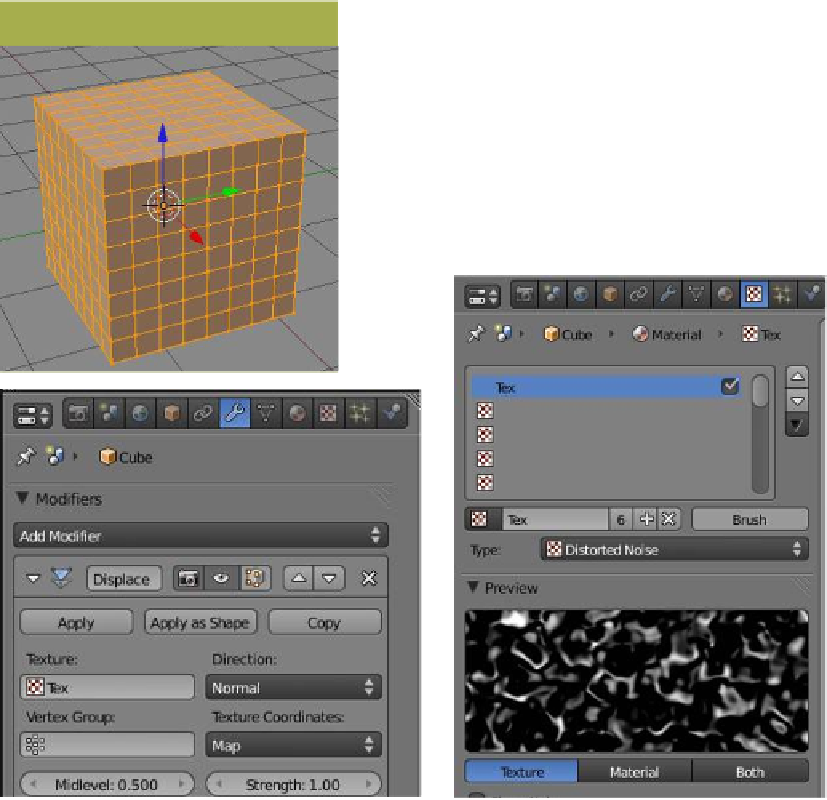
button, click “Add Modifier” and select “Displace” (Figure 12.59).
We will use a texture to displace the vertices on the cube's surface.
Make sure the cube has a material applied and in the properties
window - “Textures” button, change the texture type to “Distort-
ed Noise.” Go back to the “Object Modifiers” button and in the
“Modifiers” tab click on the “Browse texture to be linked” button.
The default texture data slot to which you assigned the distorted
Figure 12.58
Figure 12.59
“Textures” tab
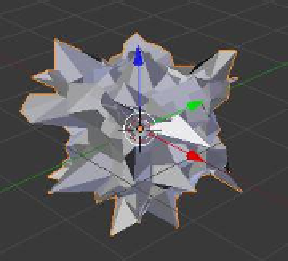
Figure 12.60
Default cube with a displace modifier added
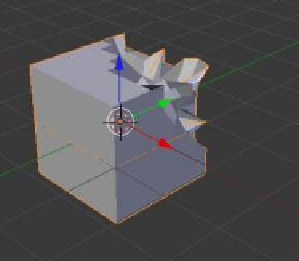
Only the vertex group is selected.