Graphics Programs Reference
In-Depth Information
3. Also in the “Output” tab, set the path name to the location for saving the file.
4. Make sure “Anti-Aliasing” is ticked and that “8” is selected.
5. Check that the start and end frames of the animation are selected in the “Di-
mensions” tab.
6. Also in the “Dimensions” tab, check the frame rate is correct: 30 for NTSC or
25 for PAL.
7. In the “Shading” tab make, sure “Shadows” and “Ray Tracing” are ticked.
8. Finally, press the “Animation” button in the “Render” tab.
The video clip (movie file) will take some time to compile depending on the length of the
animation. Each frame of the animation has to be rendered and saved. Depending on the
complexity of the scene, a frame can take from a few seconds to several minutes to render.
To begin, it is best to keep everything very basic and simple. If you get to the stage where
you have created a wonderful movie, you can send the animation files to a render farm on
the Internet to have them rendered—it saves you time but it costs you money.
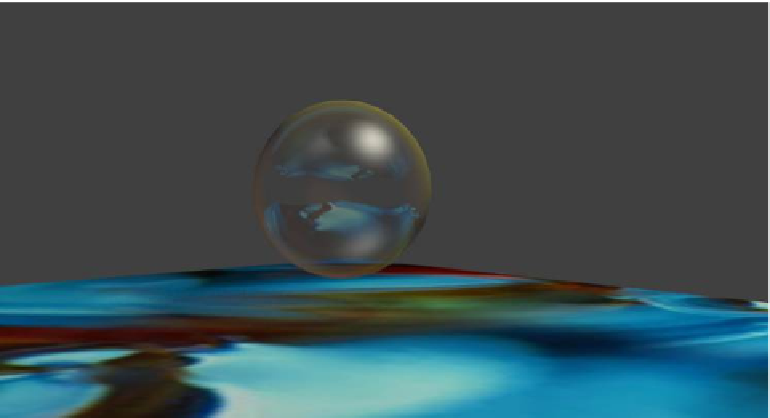
8.4 Ray Tracing
Ray tracing is used to produce mirrored and reflective surfaces. It is also used to create
transparency and refraction (bending of images through transparent surfaces like a mag-
nifying glass or lens). Ray tracing can create stunning effects but can incur a high cost in
render time, so use it sparingly. Don't attempt to ray trace everything—you can get some
great shadow and texture effects with spotlight and material settings.
Figure 8.4