Graphics Programs Reference
In-Depth Information
Figure 6.7
Figure 6.8
in the drop down menu. In the “Infl uence” tab, try changing the “Blend:
Mix” to something else.
In the properties window - “World” button - “World” tab, checking
the diff erent “Sky” settings and choosing diff erent colors from the color
bars in the horizon, zenith, and ambient settings produce diff erent eff ects.
In the 3D window, select the lamp. In the properties window, try diff erent
lamp settings. In the “Lamp” tab, change the lamp type (Point, Sun, Spot,
Hemi, and Area). Adjust the “Energy” value and change the light color by
clicking on the color bar to reveal a color picker. Render an image at each
change to see the diff erent results. Don't forget to try out all the diff erent
texture types.
As previously stated, there are many combinations. You just have to
experiment and record your settings. When you fi nd something you like
that suits your purpose, save it in a .blend fi le for future use; in this way,
you can create your own library.
The image renders as
a background to the
scene.
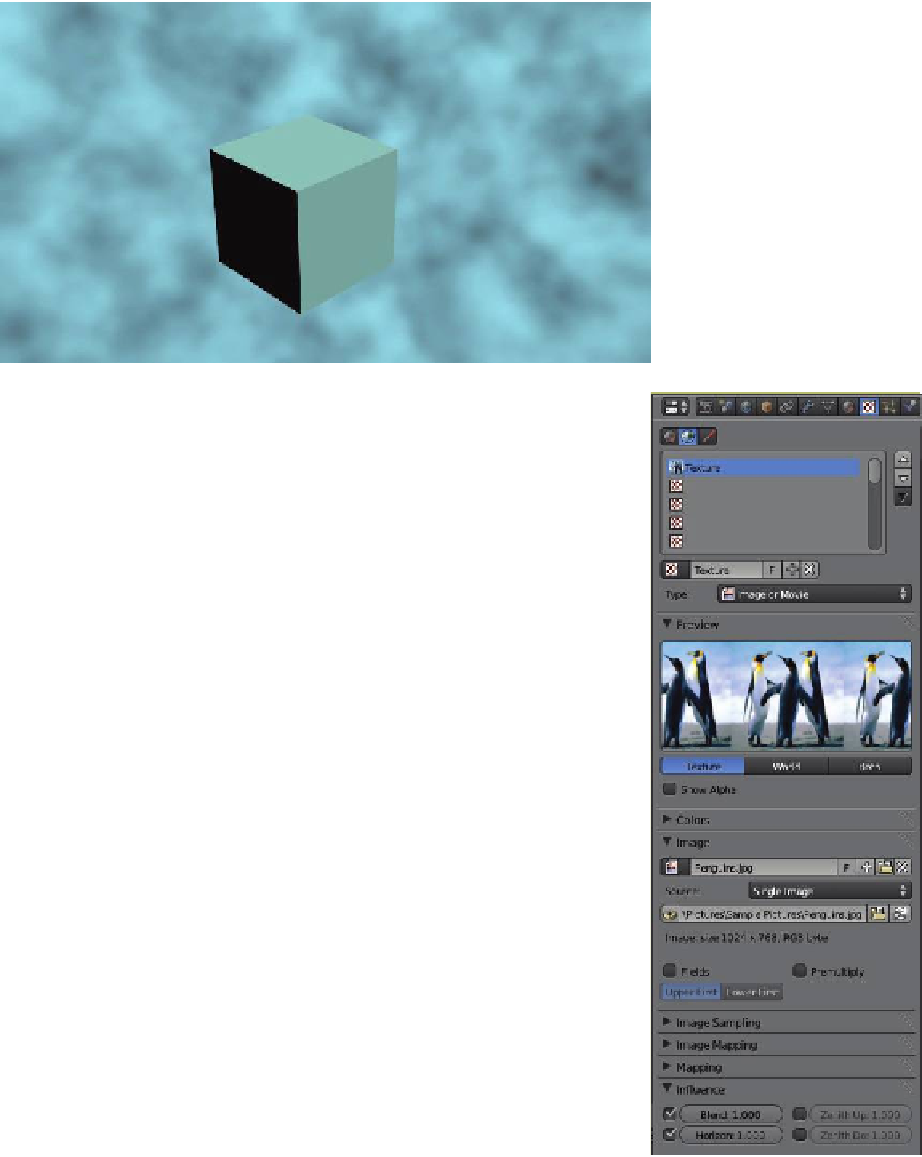
6.5 Image as Background
You can use any image stored on your computer as a background. De-
select objects in the scene and click the “World” texture type button. In
the properties window - “Textures” button, click “New” to add a tex-
ture. Select the texture type “Image or Movie” in the “Image” tab. Click
“Open” then navigate and select your image. In the “Textures” button
- “Infl uence” tab, click “Horizon.” Th e image will display as the back-
ground to your scene when you render (Figure 6.8).
Learning
Unit 7
Learning
Unit 4
Note:
Altering values in the
“Mapping” tab adjusts how
the image displays in a render
of the scene.
World Editor -
Background
Image
Background
Image