Graphics Programs Reference
In-Depth Information
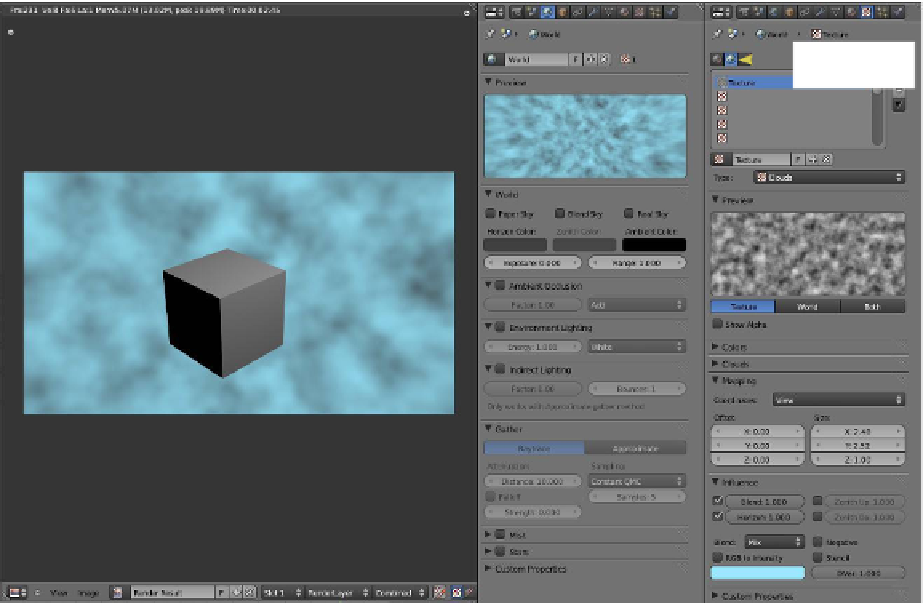
3D window (this 3D window shows a rendered image)
Properties window (two copies)
“World” button
“Textures” button
W
o
rld texture
mode
Figure 6.6
Now, how do we get the background? In the properties window - “Textures” buttons,
click on “New” to display the buttons tabs. By default, the texture type “Clouds” opens. You
see the clouds texture in the preview panel, but it is a black-and-white image. There is no
display in the properties window “World” buttons, and if you render an image in the 3D
window (F12), there is only the dull gray background. At this stage, you haven't told Blender
what to influence with the texture.
In the properties window - “Textures” buttons (in world texture mode) - “Influence”
tab, check (tick) the “Horizon” button (which controls the amount the texture affects the
color of the horizon). You will now see the texture as a background in the “World” buttons
preview tab. The clouds are pink because of the color in the color bar in the “Influence” tab.
Click on the color bar and select a nice pale blue color and the clouds in the preview should
look more realistic. A render in the 3D window will give you a precise image of your scene
background (Figure 6.7).
The rendered image is not the same as the preview, so you have to adjust the values in
the properties window to get the desired effect. In the properties window - world texture
mode - “Mapping” tab, adjust the “Offset” and “Size” settings and change “Coordinates”