Graphics Programs Reference
In-Depth Information
To demonstrate texture paint, use the default Blender scene with the default cube object.
Remember that the default cube in the default scene comes with a material already applied.
If you are introducing a new object to the scene, you must apply a material before you can
introduce a texture. Select the cube and unwrap the surface to the UV/image editor window
using the “Follow Active Quads” method; apply an image as a texture (Figure 5.29).
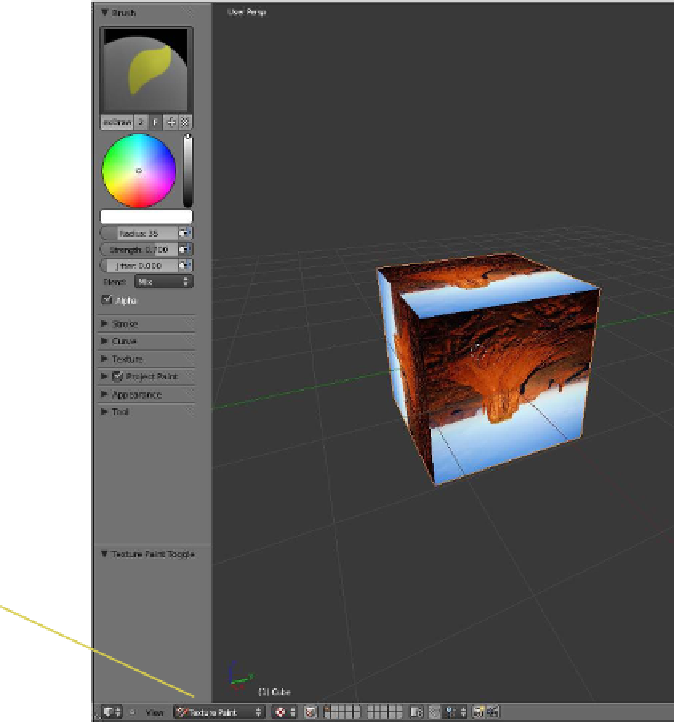
In the 3D window, change from edit mode to texture paint mode (Figure 5.30). The 3D
window will now be very similar to the vertex paint window with the exception that there is
a jitter slider in the “Brush” tab, a “Texture” tab, and a “Project Paint” tab.
In the UV/image editor window header, activate the “Enable Image Painting” button
(Figure 5.31). In the 3D window with texture paint mode selected, you may now select a
color from the color picker, set the brush size and strength, and set the type of stroke. Click,
hold, and drag the brush to paint on the image in the UV/image editor window or on the
surface of the object in the 3D window (Figure 5.32). Whichever window you paint in, the
action is reflected in the other window. To see what you have painted when you render, you
must tick “Face Textures” in the properties window - “Material” button - “Options” tab
(Figure 5.33).
3D window in
texture paint mode
Jitter slider
Texture paint
mode
Figure 5.30