Graphics Programs Reference
In-Depth Information
By selecting different faces on the cube and add-
ing different images to the UV/image editor, you can
place the different image textures on the individual
faces. You can also shift select multiple faces or shift
select edges or vertices to tell Blender on which part
of an object's surface you want the image texture
placed.
Figure 5.22
5.6 Unwrapping with Seams
Let's go back and consider the mesh unwrapping. Pressing the “Unwrap” button gives you
different options. In a new Blender scene, add an isosphere. An isosphere is chosen since, by
default, it comes with just enough vertices for beginners to play around with.
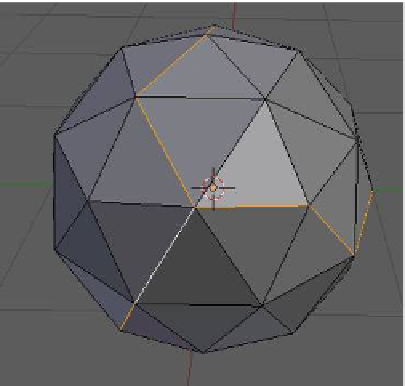
Set up the UV/image editor window as we did previously. In the 3D window with the
isosphere selected, tab to edit mode then press the A key to deselect all vertices. Change to
edge select mode and shift select the edges, dividing the surface of the isosphere into three
parts. It's best to zoom in on the isosphere and rotate the view while selecting the edges.
With the edges selected, press “Mark Seam” in the tools panel; the selected edges will turn
orange showing that a seam has been marked (Figure 5.23).
Seam
1
2
3
All edges are selected.
Figure 5.23
Figure 5.24
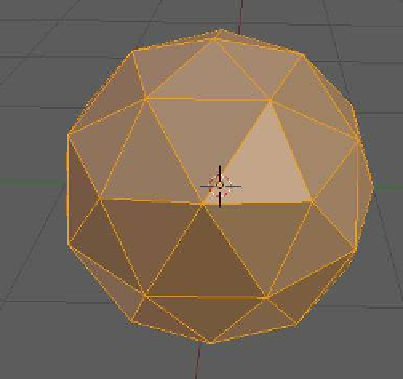
The next trick is to select all the edges of the faces of the isosphere, not just the edges
marked as the seam. Use the A key to deselect the seam edges then the A key again to select
all the edges (Figure 5.24). Having selected all the edges, press “Unwrap” in the tools panel
then select “Unwrap” in the drop down menu (Figure 5.25). The separated parts of the iso-
sphere's surface will be mapped in the UV/image editor window (Figure 5.26).