Graphics Programs Reference
In-Depth Information
5.3 Displacement Mapping
Displacement mapping is using a texture to deform a mesh. You can make a cube or a
sphere look wrinkled without having to move vertices around. Start a new Blender scene
with the default cube. Make sure the cube has a material, then in edit mode, subdivide the
cube six times. Th e texture is going to displace vertices, so you need a whole bunch of ver-
tices to work with.
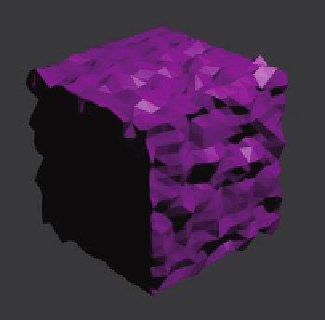
Put a cloud texture on the cube then go to the “Infl uence” tab. Leave the “Diff use: Color”
ticked. Under the “Geometry” heading, tick “Displace” and alter the value as shown in Fig-
ure 5.9. Render to see the eff ect.
Learning
Unit 8
Bump Textures
Figure 5.9
Moving the slider next to the “Displacement” box varies the amount of displacement.
Th e “Blend” drop down menu displays options that infl uence the material. Try “Add” and
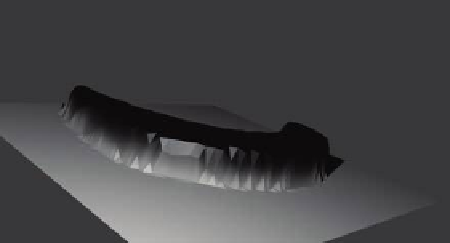
“Subtract” and render to see the diff erence. Another example is shown in Figure 5.10. Th is
time, a black-and-white image texture has been used on a plane. Don't forget to subdivide
the plane. Negative displacement values raise the surface up, and positive values depress
the surface. Experiment with other features and record the outcomes for future reference.
Black-and-white image
Rendered image with a negative displacement value
Figure 5.10