Graphics Programs Reference
In-Depth Information
Click on the texture type drop down menu and
select the “Magic” tab. e cloud texture is replaced
by the magic texture and the “Clouds” tab is replaced
by the “Magic” tab (Figure 5.2, right). is tab con-
tains only two values for altering the characteristics
of the texture: depth and turbulence. Note that the
3D window does not show the texture on the object.
is is where Blender conserves memory. Render
(press F12) to see the texture (Figure 5.3). Change
the depth value to 4 and render again to see the
alteration (Figure 5.4). Go back to the texture type
drop down selection and select “Image or Movie.”
An “Image” tab displays instead of the “Magic”
tab and the preview shows a black window—we
haven't told Blender what image to use.
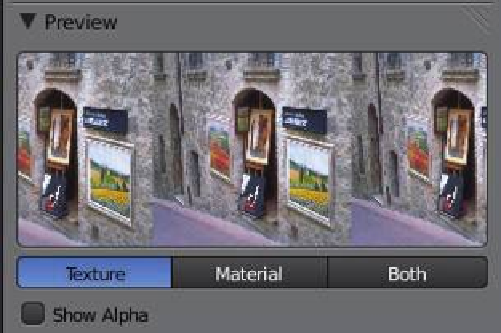
In the “Image” tab, click “Open” (Figure 5.5).
e le browser window displays. Navigate to a
le containing a picture (I have a picture named
“Street.jpg” in my “Documents” folder). Click on
the picture le then click “Open” at the top RHS
of the screen.
You will see your picture in the preview panel
(probably multiple images). Render to see your
picture displayed on the surface of the plane (Fig-
ure 5.6).
Figure 5.3
Rendered image with depth 4
Figure 5.4
Click “Open.”
Learning
Unit 5
Figure 5.5
Image Textures
Rendered image on the
surface of the plane
Learning
Unit 5
Decal Image
Texture
Figure 5.6