HTML and CSS Reference
In-Depth Information
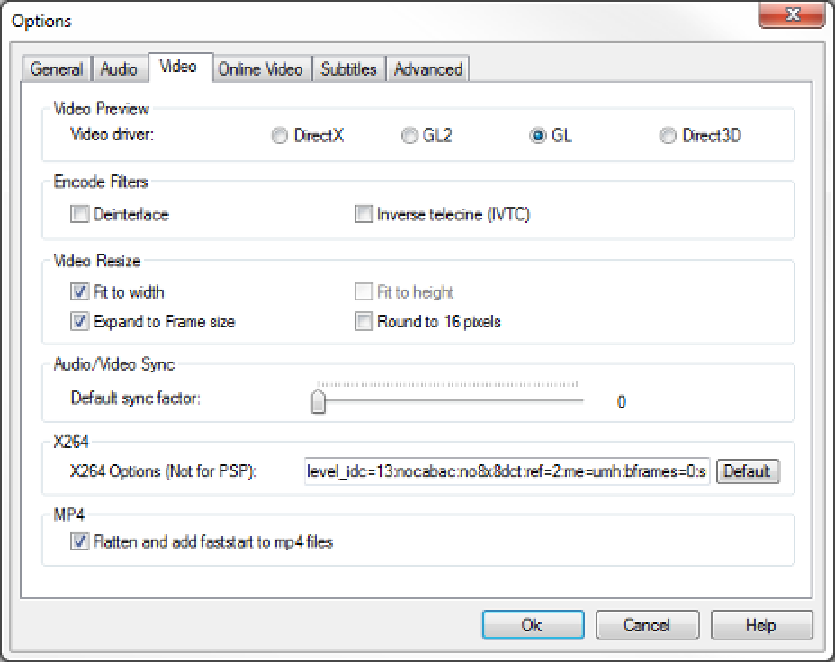
Figure 8-18.
Selecting the faststart option
Finally, click the Encode Now button. This will create an HTML5 subfolder and create a file named
Wildlife_x264.mp4
. Rename this to
Wildlife.mp4
and move the file to the Chapter
8
\Media folder.
Downloading Sample Videos
If you don't want to convert your own video files, you can download the Big Buck Bunny trailer from Microsoft
using this site:
http://ie.microsoft.com/testdrive/graphics/videoformatsupport/default.html
. This site
provides several versions of this video clip so you can see how various browsers display them.
Open this site using Internet Explorer. Right-click the H.264 baseline profile video and select the Save Video
As link. Browse to the Chapter
8
\Media folder and save the file as
BigBuckBunny.mp4
. Open the same site using
Chrome or Opera and right-click the WebM version. Select the Save Video As link and browse to the
Chapter
8
\Media folder. Save this as
BigBuckBunny.webm
.
Using the Video Element
Now that you have some video files to work with, you'll add a
video
element to your application. You'll add both
sources to support all the major browsers. In the first exercise, you'll use the native controls and test it in several
browsers. Then, you'll add custom controls that are implemented just like the audio controls.
Adding Video to the Demo Page
Adding video is a simple matter of adding the media files to your project and then adding some simple markup to
the page to play it.